Christmas Window Colour Candles: Easy Christmas Craft for Kids
Looking for a simple Christmas craft that kids can make and then use to decorate the house?
These Christmas window colour candles are such a fun activity for the run-up to Christmas. Kids can choose their own colours and designs, then watch their creations transform into colourful decorations for the windows.
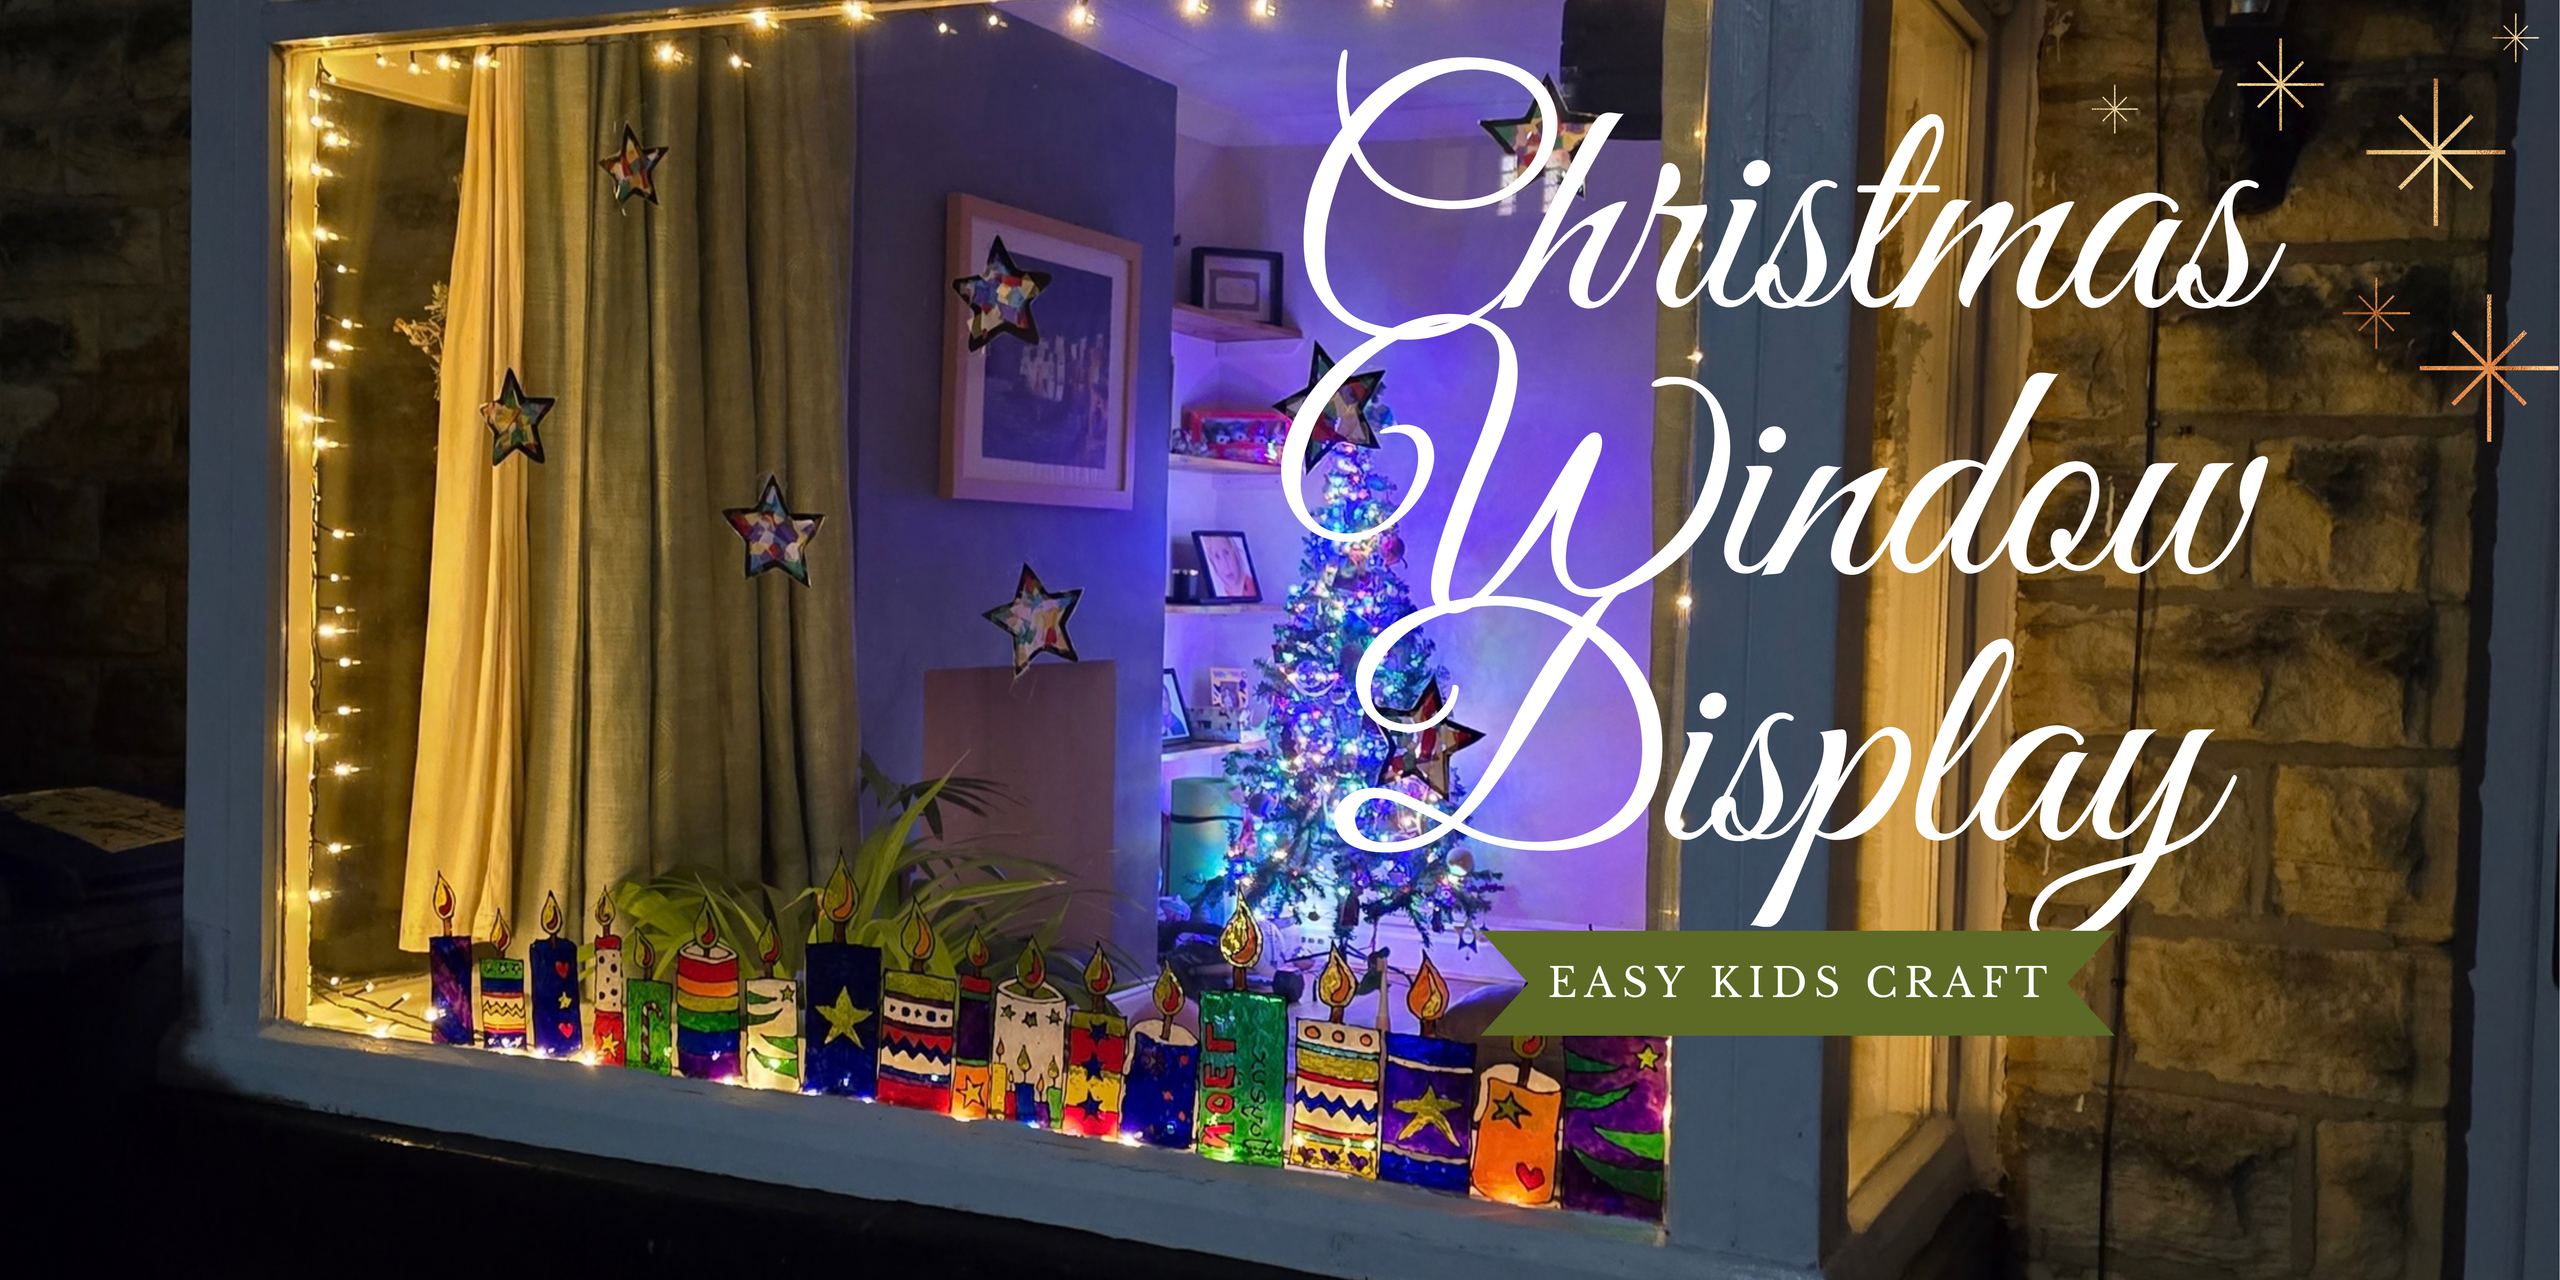
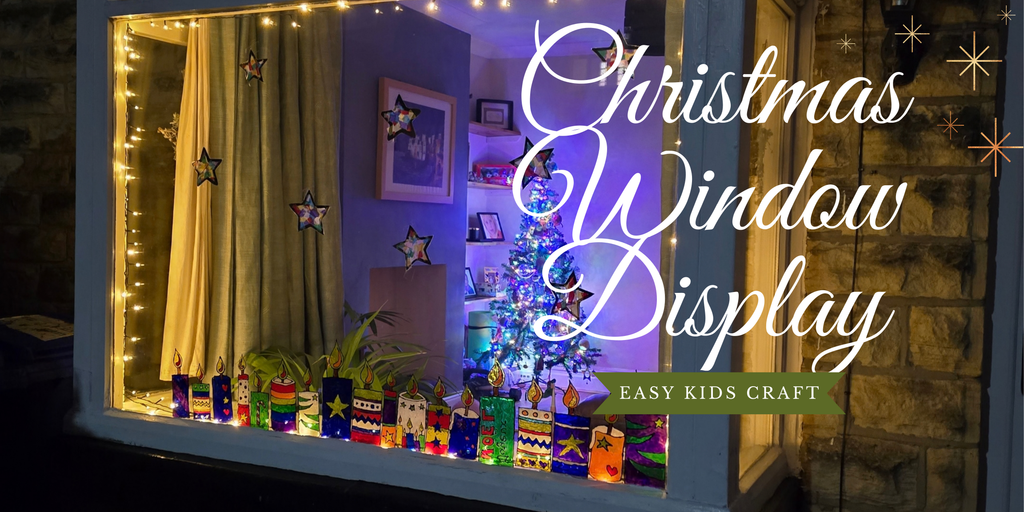
We made these last Christmas and they became part of our Christmas window display. We used a mixture of different candle designs, along with colourful stars, to create a really cheerful display that looked particularly lovely once the Christmas lights were switched on.
The best part is that you don’t need to paint directly onto your windows. Instead, you create the designs on a clear plastic wallet, let the paint dry completely, and then peel the finished decoration off and stick it onto the glass.
And if you’re careful when you take them down after Christmas, you can even store them and reuse them the following year!
What are window colour candles?
Window colour is a special type of paint designed to create decorations that can be peeled away once dry and transferred onto smooth surfaces such as glass.
For this project, I used the Marabu Kids Window Colour set, which comes with 10 colours of water-based window paint and painting templates. Marabu Kids Window Colour Set on Amazon UK
The paint starts off looking quite opaque but becomes translucent when it dries, allowing the light to shine through it.
That makes it particularly effective on windows.
What you’ll need
To make your Christmas window colour candles, you’ll need:
- Window colour paint – I used the Marabu Kids Window Colour set
- Clear plastic wallets
- Printer
- Our free Christmas candle templates
- A smooth glass surface for displaying your finished decorations
You don’t actually need to paint directly onto the glass.
The clear plastic wallet acts as a reusable surface for creating your decorations.
A note about the templates
I’ve created a set of printable Christmas candle templates to make this activity easier.
There are several different designs to choose from, including simple candles that children can decorate themselves as well as designs incorporating stars, candy canes, presents, Christmas trees, holly and Christmas lights.
DOWNLOAD THE FREE CHRISTMAS CANDLE TEMPLATES
Print the templates at 100% / actual size for the intended proportions.
How to Make Christmas Window Colour Candles
Step 1: Choose your design
Start by printing the Christmas candle templates.
There are several different designs, so children can choose their favourites — or make a whole collection of different candles.
You could even encourage them to design their own candle once they’ve had a go at the templates.
Step 2: Put the template inside a plastic wallet
This is the trick that makes the whole activity so much easier.
Take a clear plastic wallet and slide your printed template inside.
The plastic should be clear enough that you can easily see the design underneath.
Make sure the template is lying flat inside the wallet.
Don’t paint directly onto the paper.
The paint needs to be applied to the smooth plastic surface so that you can peel the finished decoration away once it has dried.
Step 3: Trace the design with black window paint
Use the black window colour to carefully trace around the outlines of your candle and any decorations.
This creates the outline that will contain the coloured paint.
This part does require a little patience!
Try to make sure your lines are continuous, particularly around the outside of the design. If there are gaps in the outline, the coloured paint can escape into neighbouring sections.
Younger children?
Don’t worry if their outlines aren’t perfect.
The finished decorations are supposed to be handmade, and a few wobbly lines just add to their character! The only thing you need to be careful off is that the outlines are a complete outline without gaps as otherwise the coloured paint will run through.
Alternatively you could do the hard work of tracing the outlines first and then just have the kids colour in the designs with the coloured paint instead.
Step 4: Let the outline dry
This is the part where you need to be patient.
Allow the black outline to dry completely before adding the coloured paint.
If you start filling the design while the outline is still wet, the colours can mix into the black lines.
So this is a great activity to do over two stages.
Day 1: Draw the outlines.
Day 2: Fill in the colours.
Or simply leave the outline to dry while you get on with another Christmas activity.
Step 5: Fill in your Christmas Window Colour Candles
Once the black outline is completely dry, it’s time for the fun part!
Use the coloured window paints to fill in the different sections of your design.
This is where children can really get creative.
They can:
- Use traditional Christmas colours
- Make rainbow candles
- Create colourful patterns
- Give every candle a different design
- Add lots of stars
- Experiment with contrasting colours
There really isn’t a right or wrong way to decorate them.
The designs don’t have to match either — I actually think a mixture of different colours and patterns looks fantastic when they’re all displayed together.
Step 6: Let the paint dry completely
Once you’ve finished colouring your designs, leave them flat and allow the paint to dry completely.
Don’t rush this stage.
The paint needs to be fully dry before you try to peel it away from the plastic.
As it dries, you’ll notice that the paint becomes translucent.
That’s exactly what we’re looking for!
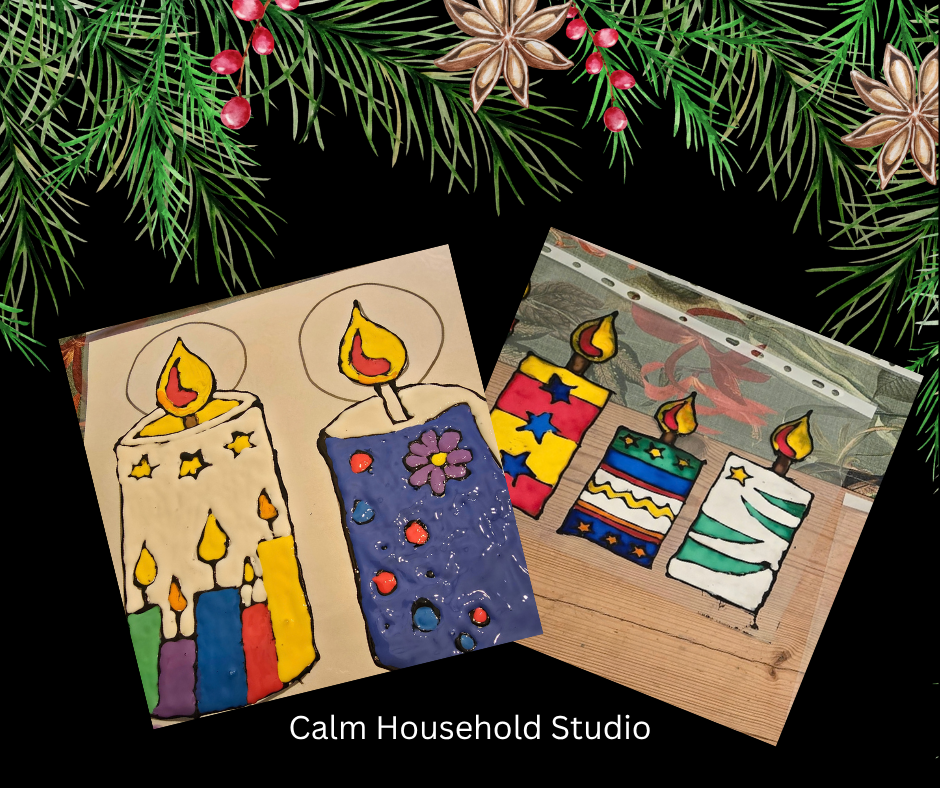
Step 7: Peel your candles from the plastic
Once the paint is completely dry, carefully peel the finished decoration away from the plastic wallet.
Go slowly, especially around thinner parts of the design.
The dried window colour should peel away from the plastic as one piece.
And this is where it gets exciting!
Step 8: Put your Christmas candles on the window
Now you can transfer your finished decorations directly onto your window.
Carefully position the decoration against the clean glass and gently press it into place.
You can create a whole collection of Christmas window colour candles, stars and other Christmas designs to make your own festive window display.
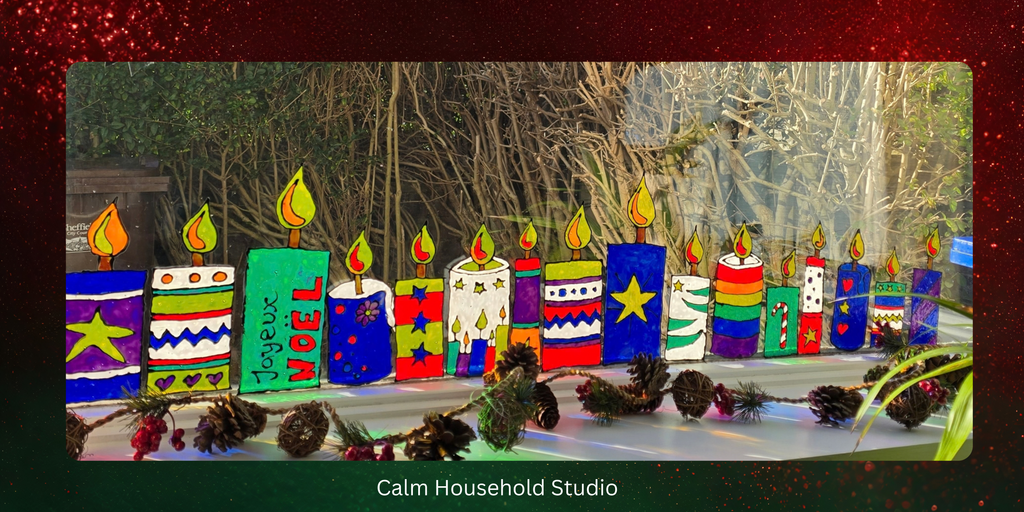
We surrounded our candles with fairy lights and added lots of colourful stars to our window last Christmas. The stars are made from cardboard and tissue paper rather then window colour. You can find a tutorial on how to make these here: Easy Tissue Paper Suncatchers. The example is different, but the principal the same.
Once it got dark, the whole display really came to life.
Can you reuse the Christmas window decorations?
Yes — and this is one of my favourite things about this activity.
If you are careful when removing the decorations after Christmas, you can transfer them back onto a clean piece of plastic or a plastic wallet.
Store them somewhere flat and protected and you should be able to bring them out again next Christmas.
That means the children can spend one afternoon making the decorations, then enjoy them as part of your Christmas decorations year after year.
It could even become a little family Christmas tradition.
More ideas for your Christmas window
You don’t have to stop at candles!
Once you’ve got the window colour paints out, you can make all sorts of Christmas decorations.
Try making:
🎄 Christmas trees
⭐ Stars
🎁 Presents
🍭 Candy canes
🦌 Reindeer
❄️ Snowflakes
🎅 Santa
🔔 Bells
🌿 Holly
💡 Christmas lights
You could also let the children design their own Christmas window decorations without using a template.
The free templates are simply there to give you a starting point.
A lovely Christmas activity for kids
I particularly like this craft because it isn’t just something that gets made and then put in a drawer.
The children can actually see their artwork become part of the Christmas decorations.
It also gives them plenty of opportunity to practise:
- Fine motor skills
- Drawing and tracing
- Colour recognition
- Pattern creation
- Patience
- Creative decision-making
And, of course, there’s something rather magical about seeing their handmade decorations glowing in the window once it gets dark.
🎄 More Christmas Activities for Kids
If you’re looking for more simple activities to keep the kids busy in the run-up to Christmas, we’re building a whole collection of Christmas crafts, games, activities and learning ideas here at Calm Household Studio.
🎄 DIY Angel Advent Calendar
🚪 Christmas Door Hangers
💌 Easy Christmas Cards for Kids
Coming soon:
🎲 Christmas Games & Activities
📚 Christmas Learning Activities
🎅 24 Days of Christmas Activities
Explore all our Christmas activities → Coming Soon!
⚠️ A quick safety note
Window colour paint should be used with adult supervision. Follow the instructions supplied with your particular paint and make sure children don’t put the paint or painted materials in their mouths. Allow the paint to dry fully before handling or transferring the decorations.