Easy Christmas Cards for Kids: 4 Creative Ideas Using Cookie Cutters
Making your own Christmas cards is a lovely way to get creative together in the run-up to Christmas. Handmade cards are personal, fun to make and a great way for children to send a little festive cheer to friends and family.
You don’t need lots of fancy craft supplies to get started, either. For these Christmas cards for kids ideas, we used something we already had in the kitchen: Christmas cookie cutters!
My daughter and I tried four different techniques, from simple tracing and colouring to layered cardboard shapes, transparent paper and paint stencils. Each method creates a different effect, so children can experiment and find their favourite or you can go wild and mix and match.
Whether you’re looking for a simple Christmas craft for younger children or a more creative project for older kids, these ideas are easy to adapt to suit different ages and abilities.
What You’ll Need to make Christmas Cards for Kids
The great thing about these Christmas cards is that you can use materials you probably already have at home.
Depending on which techniques you choose, you might need:
- Blank cards or sheets of white card folded in half
- Christmas cookie cutters (we used stars, trees, gingerbread people and candy canes)
- Pencils and colouring pens
- Coloured card or cardboard
- Transparent coloured paper or tissue paper
- Paint
- Glue
- Scissors
- A paintbrush or sponge for applying paint
You don’t need to use every material for every card. Choose the techniques you like best, or set up a little craft station and let the children try all four. I just gave my daughter the materials and she started straight away by tracing around the candy cane on her card and making a candy cane forest. It’s great to watch her imagination come to life!
A little tip: If you’re making several cards, cut and fold your card blanks in advance. That way, children can concentrate on decorating them.
1. Trace and Colour Christmas Cookie Cutter Shapes
This is probably the simplest of the four ideas and a great starting point for younger children.
Place a Christmas cookie cutter on the front of your card and carefully trace around the outside with a pencil. Remove the cutter and colour in the shape.
You can use different colours and patterns to turn simple outlines into festive designs. A Christmas tree could have colourful baubles, a star could be covered in glittery patterns, or a gingerbread person could have buttons and a smiling face.
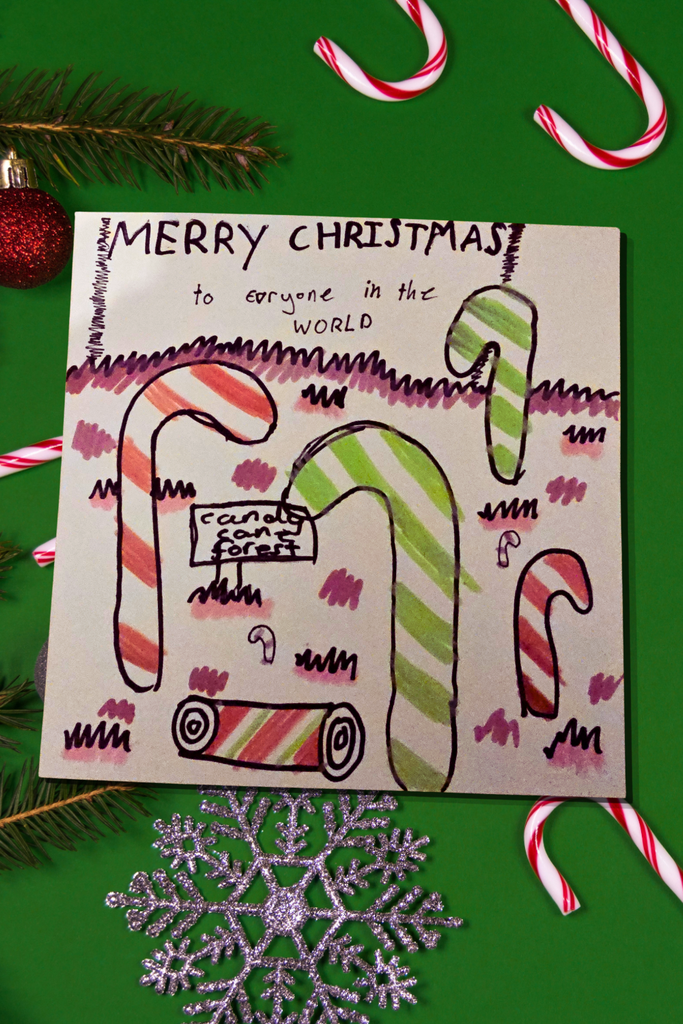
You could also combine several shapes to create a little Christmas scene. Try arranging stars above a tree, adding presents underneath or making a row of gingerbread people.
Ideas to try:
- A Christmas tree decorated with colourful baubles.
- A star surrounded by smaller stars.
- A row of colourful candy canes.
- Gingerbread people with different expressions and decorations.
Finish your card with a handwritten Christmas message inside.
This technique is particularly good for children who enjoy drawing and colouring, and it requires very little preparation.
2. Make Raised Christmas Shapes with Cardboard
For a card with a little more dimension, use your cookie cutters to create shapes from coloured card or thin cardboard.
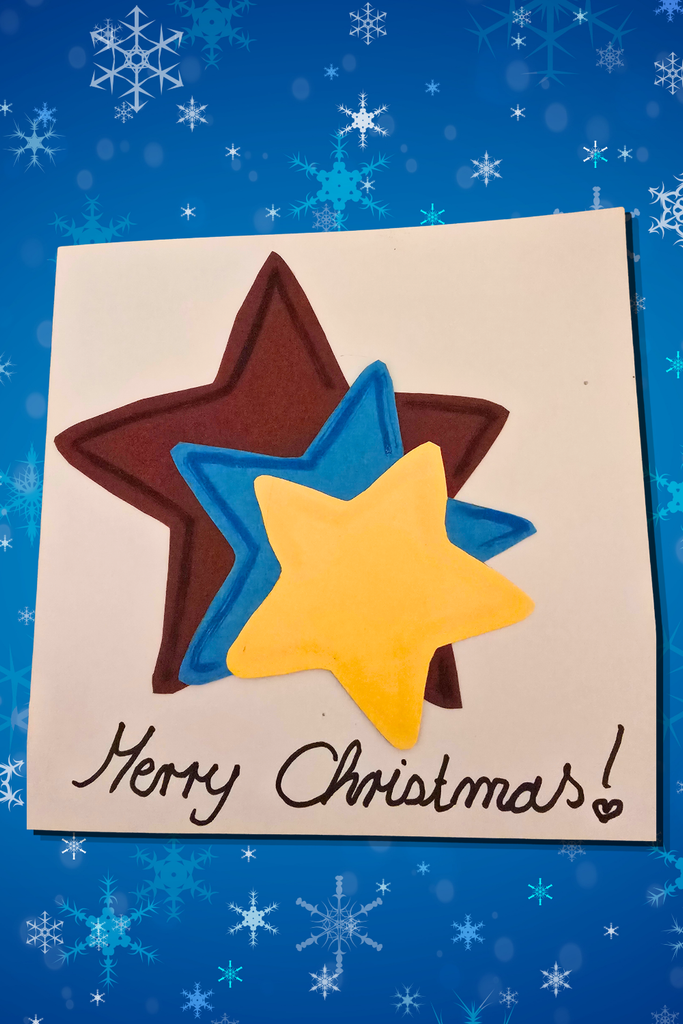
Place a cookie cutter on your chosen card, trace around it and cut out the shape. Glue it onto the front of your Christmas card to create a raised decoration.
You can keep things simple with a single large shape or layer several shapes together to make a more detailed design.
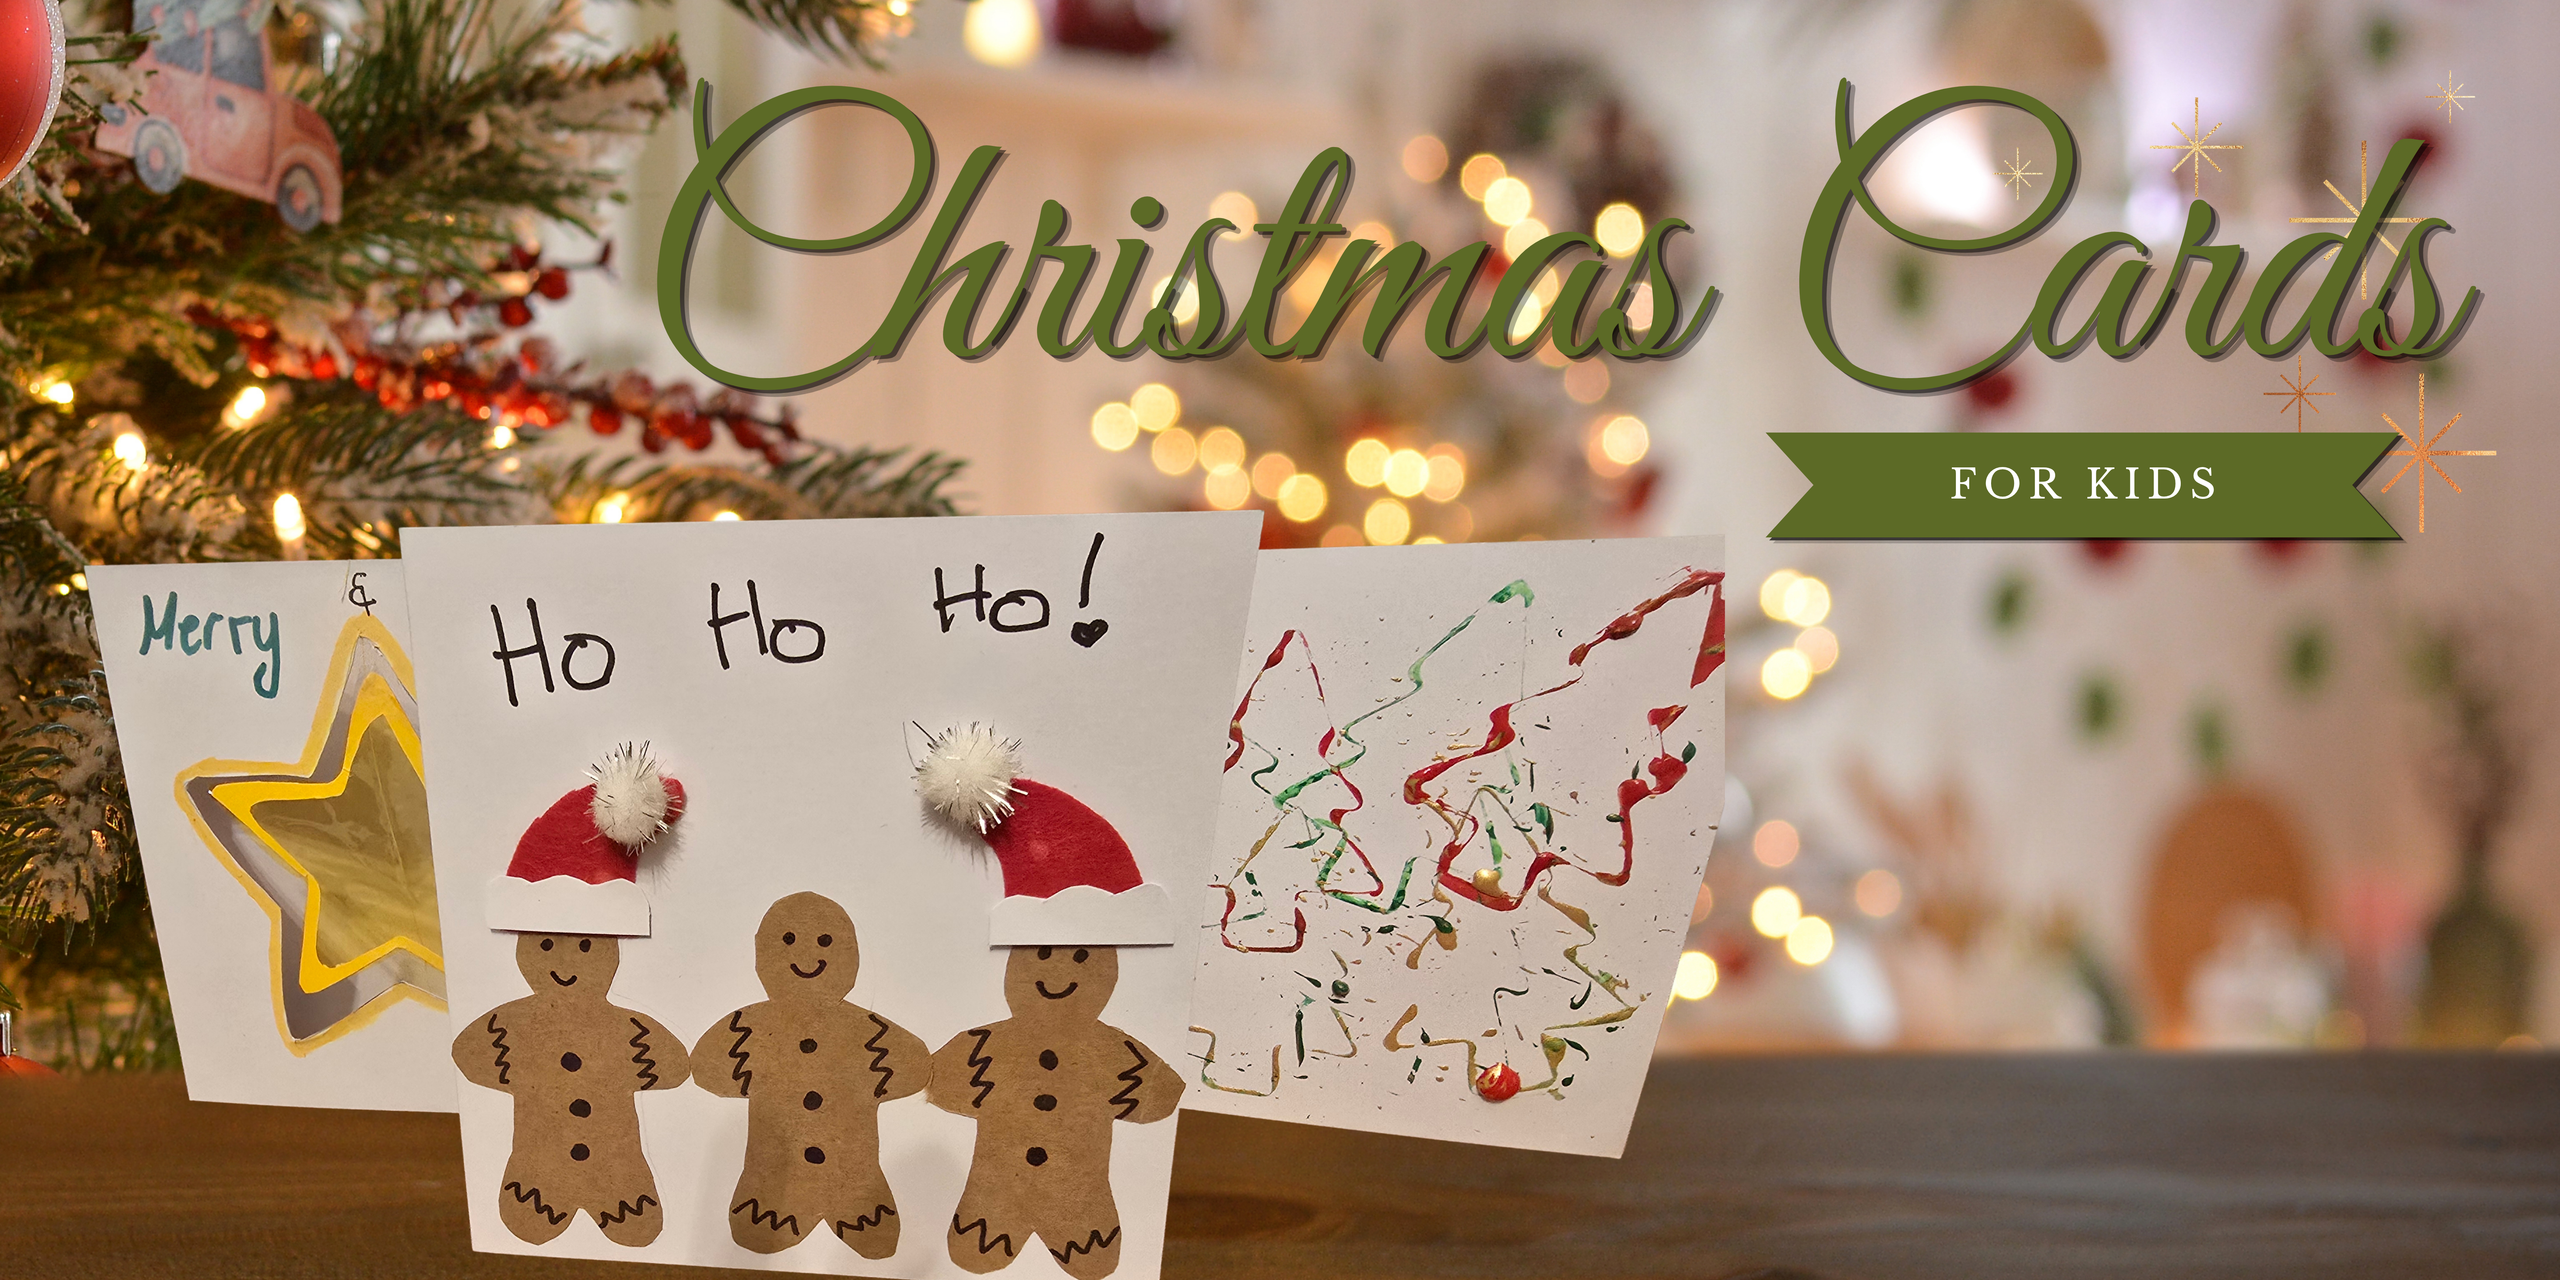
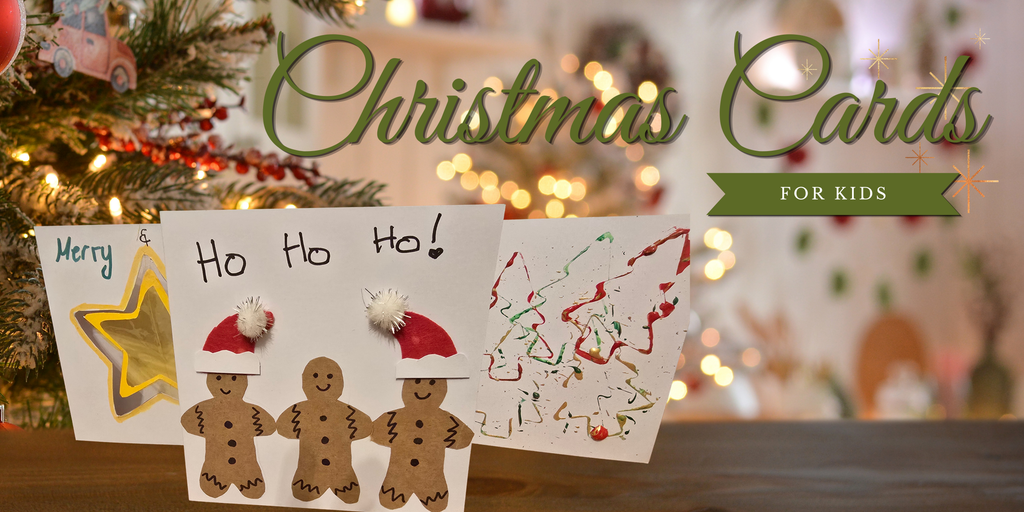
For example, we cut out three stars in different sizes and colours, and then layered them on top of one another. We also created a little row of gingerbread people, each with its own decorations made from cardboard and felt plus some sparkly pompoms to make bobble hats.
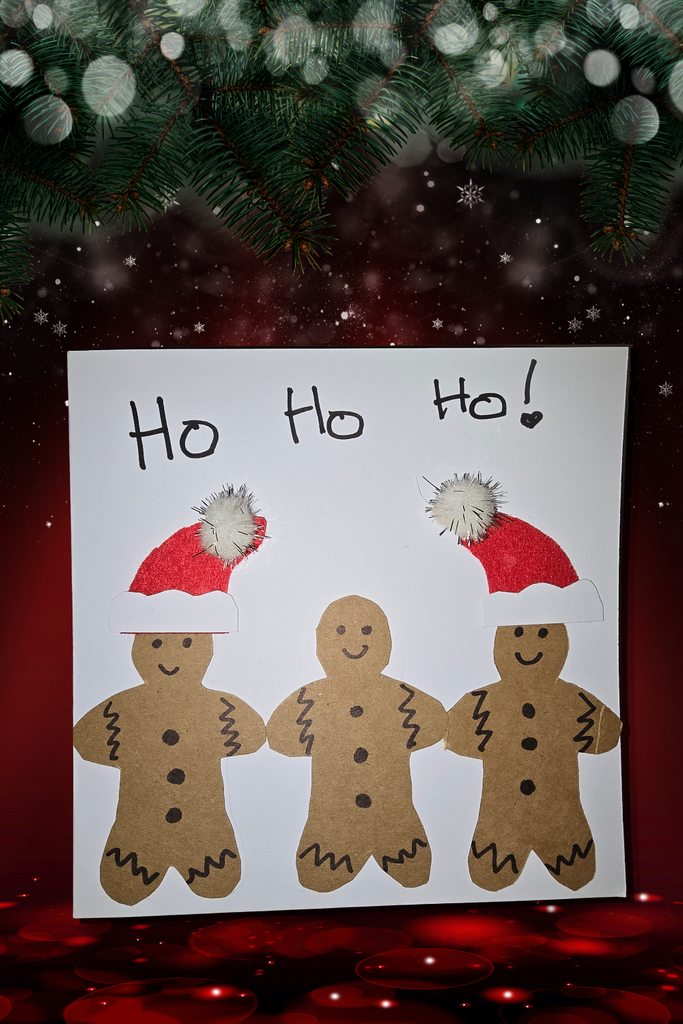
You could also use small scraps of coloured card or fabric to add details such as buttons, bows, baubles or a star on top of a Christmas tree.
Why we like this idea: It gives children the chance to work with shapes, colours and layers without needing to draw everything themselves.
For younger children, you can prepare the shapes in advance and let them arrange and glue them onto the card. Older children can trace and cut their own designs.
3. Create a Christmas Card with Transparent Paper
This technique is a little different and creates a lovely effect when held up to the light.
Start by folding a piece of card in half to make your card blank. On the front, trace around a Christmas cookie cutter and carefully cut out the shape to create an opening.
Next, cut a piece of transparent coloured paper slightly larger than the opening. Glue it to the inside of the card so that it covers the hole.
When you close the card, you’ll have a coloured shape that lets light shine through.
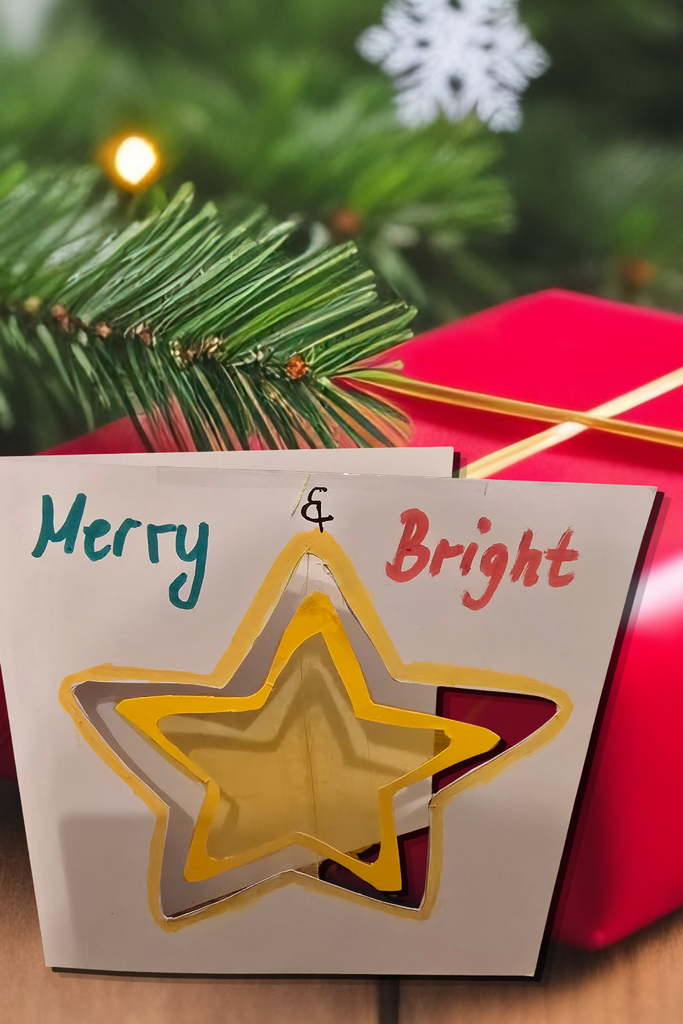
We experimented with different shapes and colours to see how the finished cards looked. You could use red or green paper for a Christmas tree, yellow for a star or several different colours for a more colourful design.
A few ideas:
- A star with yellow transparent paper.
- A Christmas tree with green paper.
- A candy cane with red or pink paper.
- A gingerbread person with a warm brown shade.
You could even add small details around the opening using pens or coloured card.
This is a lovely technique for children who enjoy experimenting with different materials and effects. It can take a little more adult help, especially when cutting out the shapes from the card.
Tip: If you don’t have transparent craft paper, try coloured tissue paper instead. It may be more delicate, so handle it carefully when gluing.
4. Use Cookie Cutters as Paint Stencils
Our final idea uses cookie cutters in a slightly different way: as stencils for painting.
There are two ways to do this. You could place a cookie cutter on the front of your card and use a small paintbrush or sponge to dab paint inside the shape. Carefully remove the cutter to reveal your design. Alternatively, you could do what we did and carefully paint the edges of the cookie cutter with paint (or you could dip it into paint for an easier, but messier option) and then use it to stamp the outline onto your card.
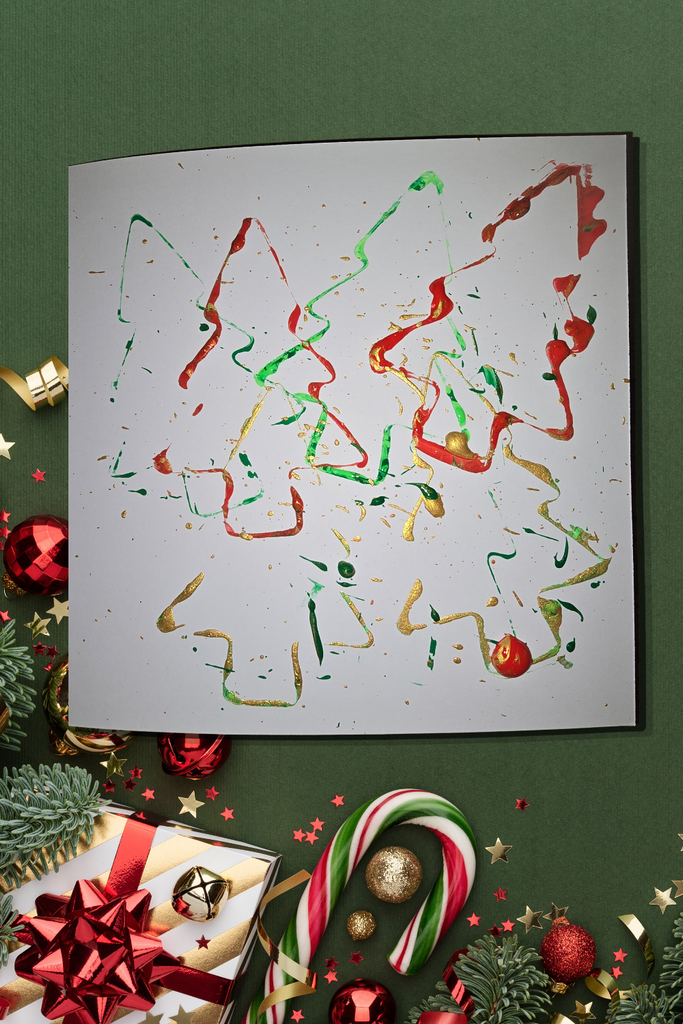
If you don’t mind a bit of mess, you could add glitter to the wet paint for a sparkly effect.
You can experiment with different colours and shapes, overlapping them or repeating the same shape to create a pattern.
For example, paint several green Christmas trees across the card, add red and gold stars, or create a colourful pattern using different festive shapes.
You don’t have to stick to traditional Christmas colours, either. Try blues, silvers and whites for a wintery look, or let the children choose their own colour combinations.
For the best results:
- Use card that can handle a little moisture from the paint.
- Apply the paint in small amounts to avoid it spreading underneath the cutter.
- Lift the cutter carefully to keep the outline as clear as possible.
- Let the paint dry completely before writing inside the card or adding any extra decorations.
The finished designs can be wonderfully individual. Even when children use the same cookie cutter, their cards will look different depending on the colours and amount of paint they use.
Which Christmas Card Technique Should You Try?
All four ideas use the same basic materials, but each creates a different result.
- Tracing and colouring: Best for a quick, simple activity with younger children.
- Raised cardboard shapes: Great for children who enjoy cutting, sticking and layering.
- Transparent paper: Ideal for experimenting with colour and light.
- Paint stencils: A fun option for children who enjoy getting creative with paint.
You could try one technique with your children or make an afternoon of it by setting up all four. If you’re making cards for lots of people, each child could choose a different design for each recipient.
Remember that the aim is to have fun and make something personal. The cards don’t need to look perfect — the handmade touches are what make them special.
More Christmas Crafts and Activities for Kids
If you’re looking for more ways to get creative this Christmas, why not try some of our other festive ideas?
- Christmas Window Colour Candles: Easy Christmas Craft for Kids – Make colourful window decorations using window paint and our printable candle templates.
- Christmas Door Hangers for Kids: Free Printable Templates – Let children colour and decorate their own festive door hangers. (coming soon)
- DIY Angel Advent Calendar: Make Your Own Singing Angel Choir – Create a handmade advent calendar featuring 24 little angels, inspired by a family Christmas tradition.
- 24 Days of Christmas Activities for Kids – Find more festive ideas, including games, crafts, baking and family activities to enjoy throughout December. (coming soon)
These are all lovely ways to spend time together and add a handmade touch to your Christmas celebrations.
Christmas Traditions around the world
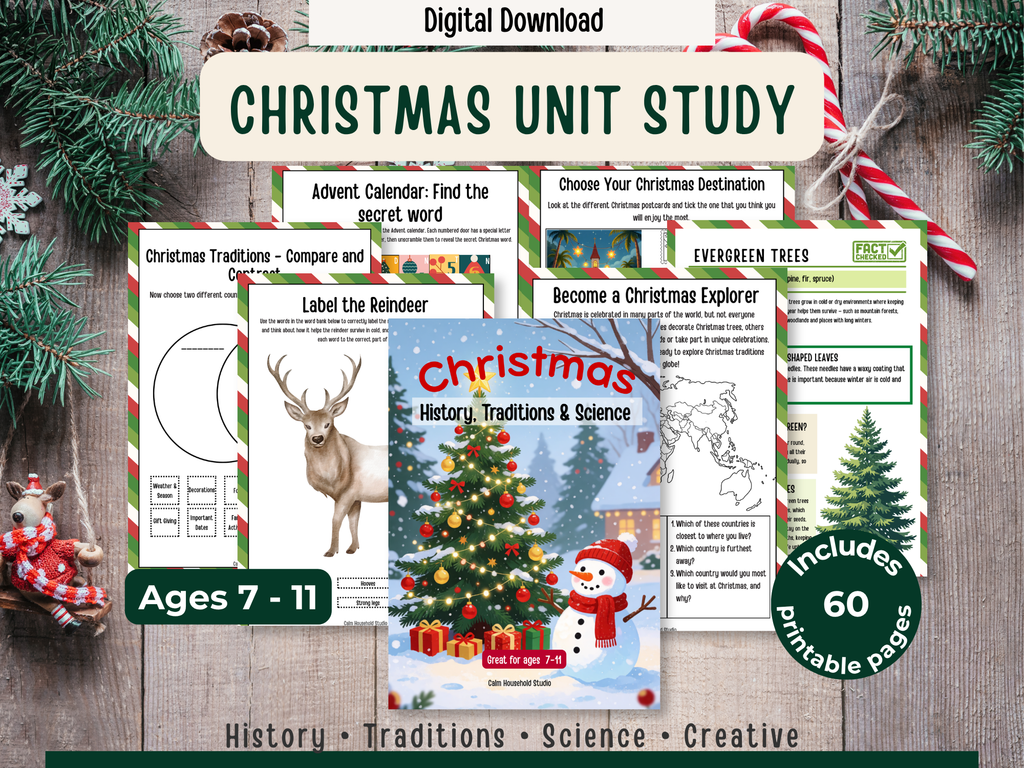
If you want to learn about the origins of the first commercial Christmas Card or how countries around the world celebrate, you might like our Christmas History, Traditions and Science Unit Study.
This 60-page printable resource is designed for children aged 7–11 and brings a range of Christmas learning activities together in one organised collection.
Inside, you’ll find activities covering:
- Christmas around the world: Explore geography, discover traditions and compare celebrations.
- Christmas history: Investigate the origins and development of familiar Christmas traditions.
- Winter science: Explore snowflakes, reindeer adaptations and evergreen trees.
- Creative projects: Design, research and create your own Christmas-themed work.
Make Your Own Christmas Cards for Kids this Year
Making Christmas cards together doesn’t need to be complicated or expensive. With a few cookie cutters and some basic craft supplies, you can create a whole collection of festive designs that children will be proud to give to friends and family.
I loved trying these different techniques with my daughter, and it was fun to see how the same cookie cutters could create such different results. You might find that your children have ideas of their own once they get started!
So gather your card, choose your favourite Christmas shapes and see what you can create together.
Which of these four Christmas cards for kids ideas will you try first?