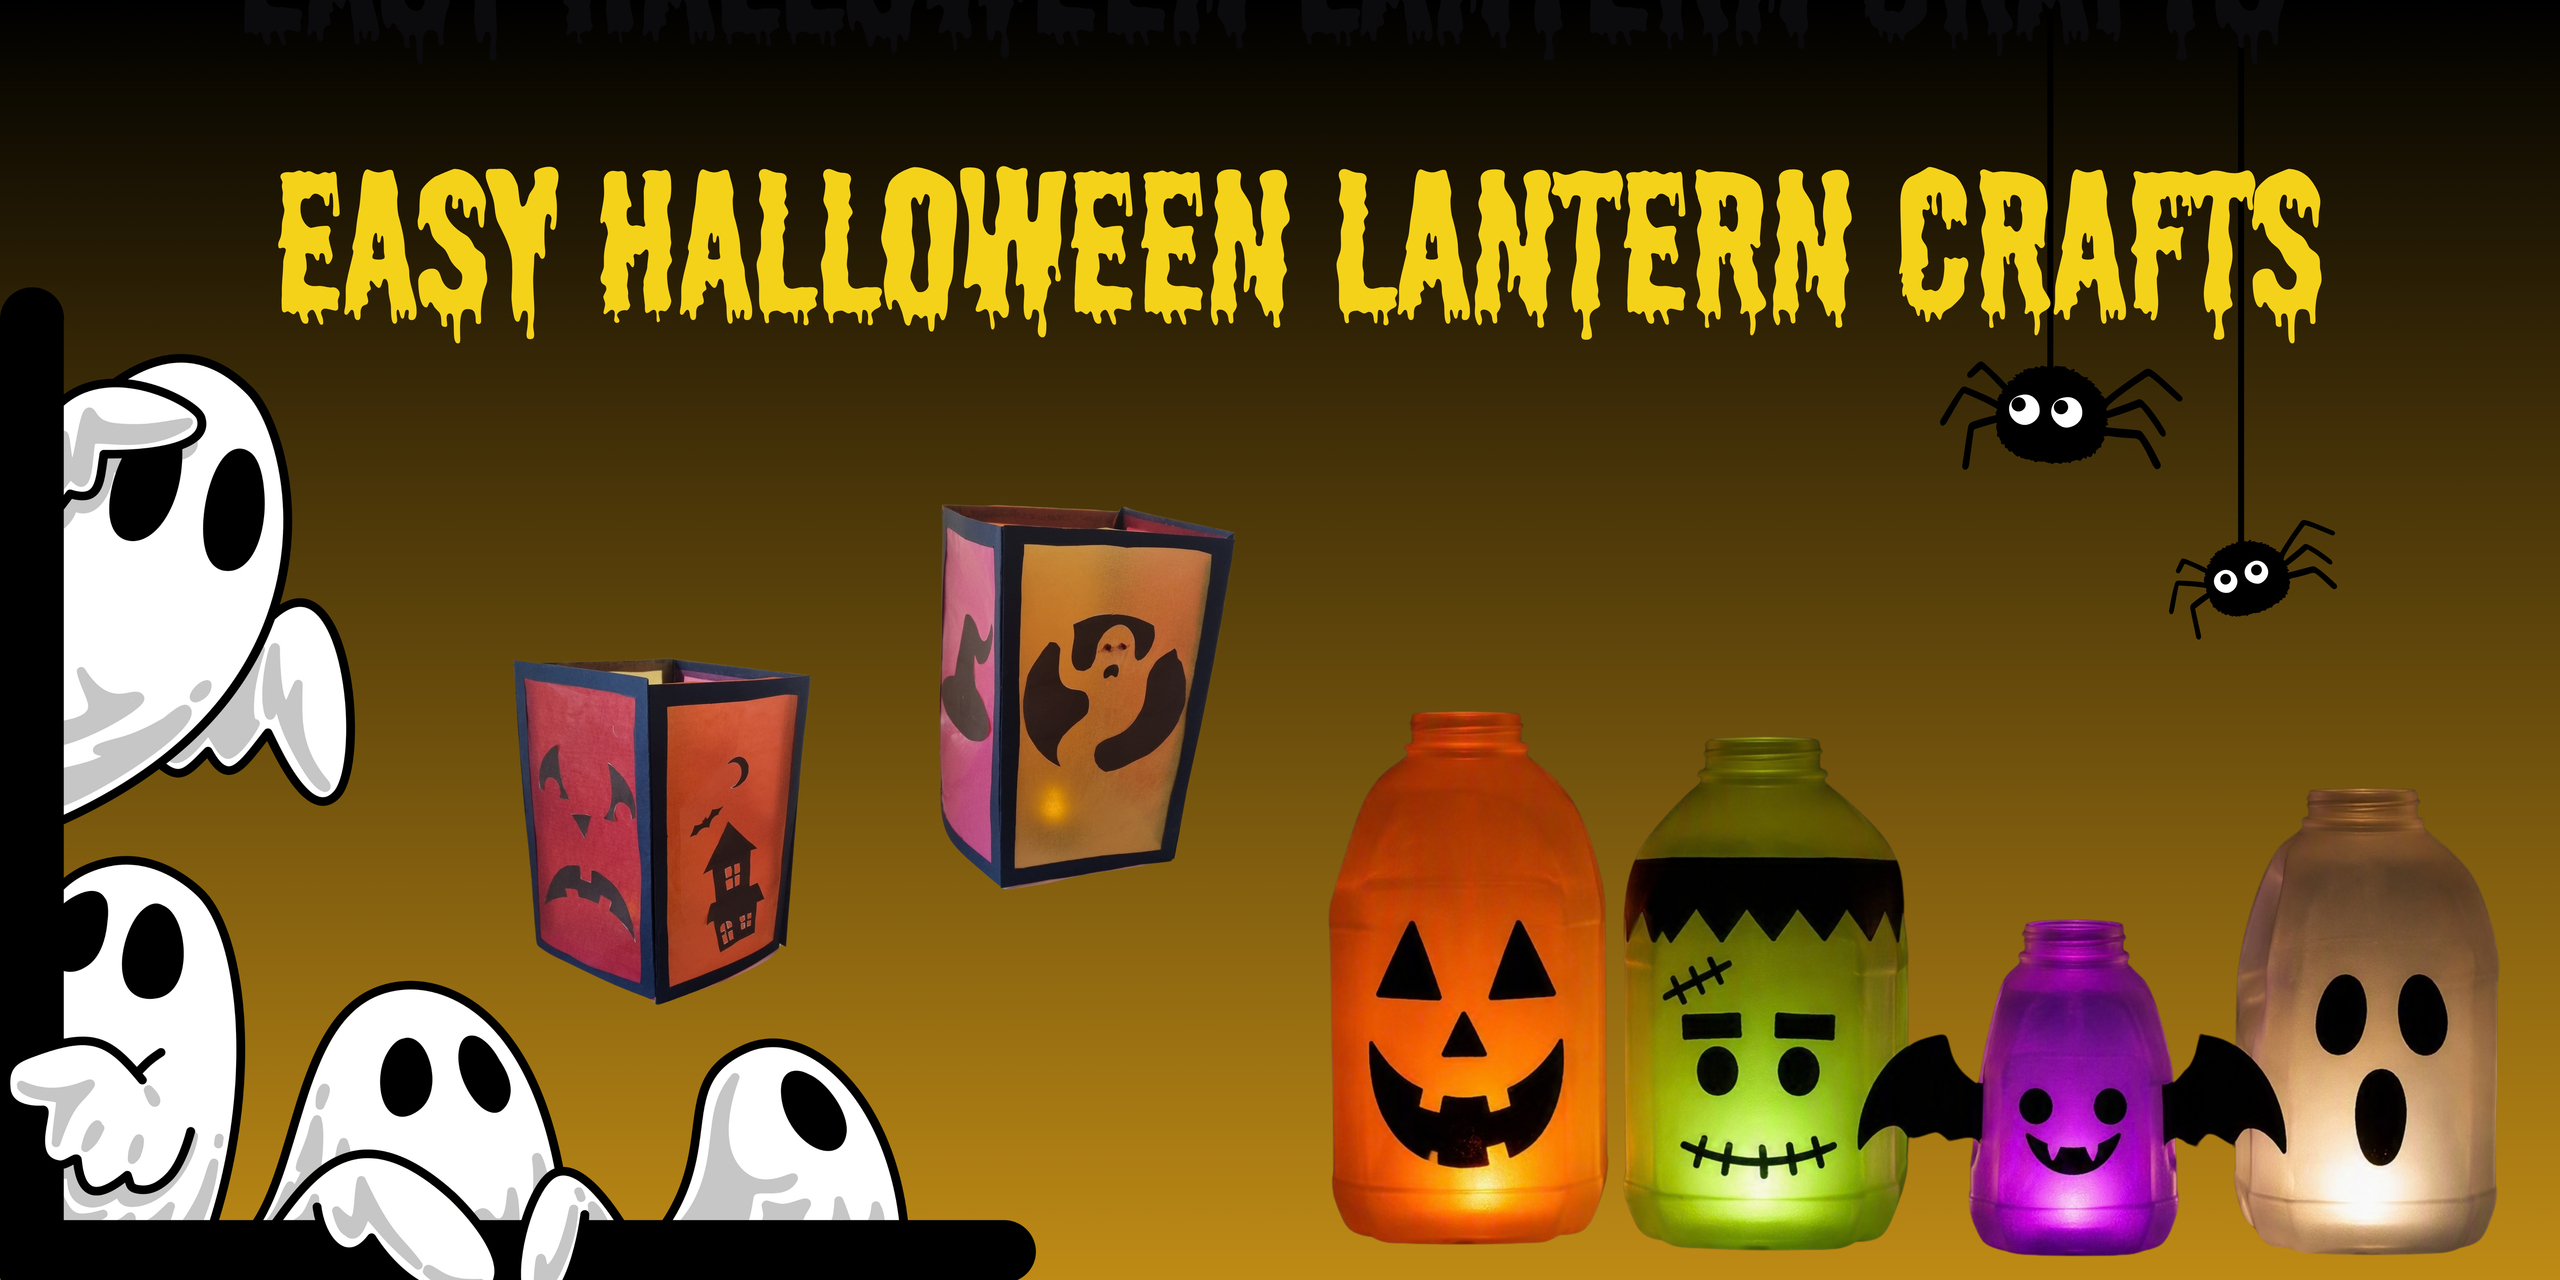
4 Easy Halloween Lantern Crafts for Kids
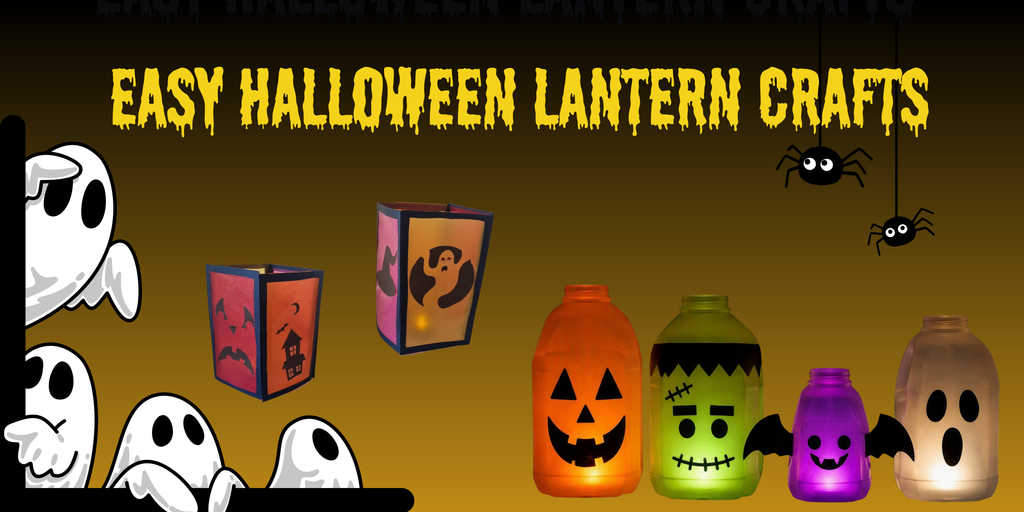
Looking for a fun Halloween craft that doesn’t involve carving a pumpkin?
Halloween lanterns are a great way for children to get creative and make their own spooky decorations — and there are plenty of ways to make them without buying a pumpkin for every child or getting the carving tools out.
From recycled milk bottles and glass jars to cardboard creations, these Halloween lantern crafts for kids are simple, inexpensive and perfect for an autumn afternoon at home.
And because they can be made using things you may already have around the house, they’re a great option if you’re looking for a budget-friendly Halloween activity for kids.
In this post, I’ll show you four different ideas:
- 👻 Milk bottle ghost lanterns
- 🕯️ Glass jar Halloween lanterns
- 🥤 Paper Cup Halloween lanterns
- 🏚️ Cardboard Halloween lanterns
Each one can be adapted to suit different ages and abilities, so there’s something here for younger and older children.
🎃 More Halloween Fun for Kids
If you’re planning some Halloween activities for the October half term, why not turn your lantern-making into a whole afternoon of spooky fun?
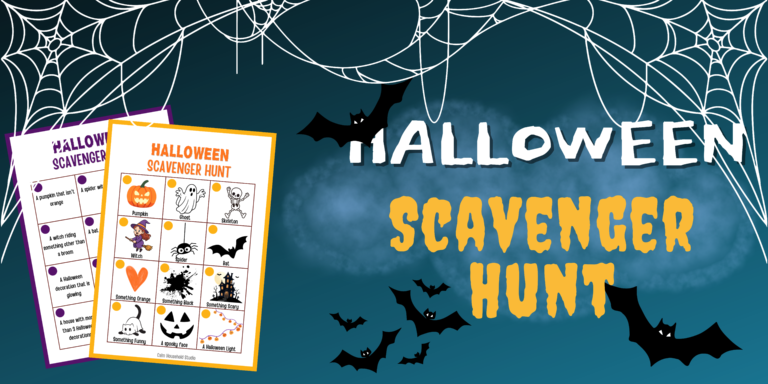
Looking for something to do before you start crafting? Try our Halloween Scavenger Hunt for Kids, with separate versions for younger and older children.
Or turn the afternoon into an adventure with our Halloween Indoor Treasure Hunt. Children can follow a series of spooky clues around the house to find their Halloween treasure.
And once your lanterns are finished, they’ll make a brilliant decoration for a Halloween party!
👻 1. Milk Bottle Ghost Lanterns
Don’t throw away those empty plastic milk bottles just yet!
With a little imagination, an ordinary milk bottle can be transformed into a spooky — or perhaps not-so-spooky — Halloween ghost lantern.
This is a particularly good craft for younger children because there is no complicated construction involved.
You will need
- An empty, clean plastic milk bottle
- Black marker pen or black paper
- Glow sticks – Colourful ones look particularly good or an LED tea light
- Scissors
- White paper or tissue paper, if desired
- Glue, if using paper details
How to make a milk bottle ghost lantern
Start by washing and drying the milk bottle thoroughly and removing any labels.
Turn the bottle into a ghost by adding eyes and a spooky mouth. You can draw these directly onto the plastic with a suitable marker or cut the features from black paper.
Add your light source inside the bottle and you’re done! You can fill the milk bottles with water first if you are using glow sticks. It adds a ghostly glow whilst also weighing down the bottle if you are planning on putting it outside. If using an LED light, you could put a bit of sand or some rocks at the bottom of the milk bottle to weigh it down. Do NOT add water if using an LED light.
For a slightly different look, you could make several ghosts with different expressions — some scary, some silly and some completely surprised.
Safety tip: Use an LED light or glow stick rather than a real candle. Never put a flame inside a plastic container.
👻 Make it your own
Why stop at ghosts?
You could turn your milk bottles into:
- Pumpkins
- Monsters
- Bats
- Frankenstein’s monster
- Black cats
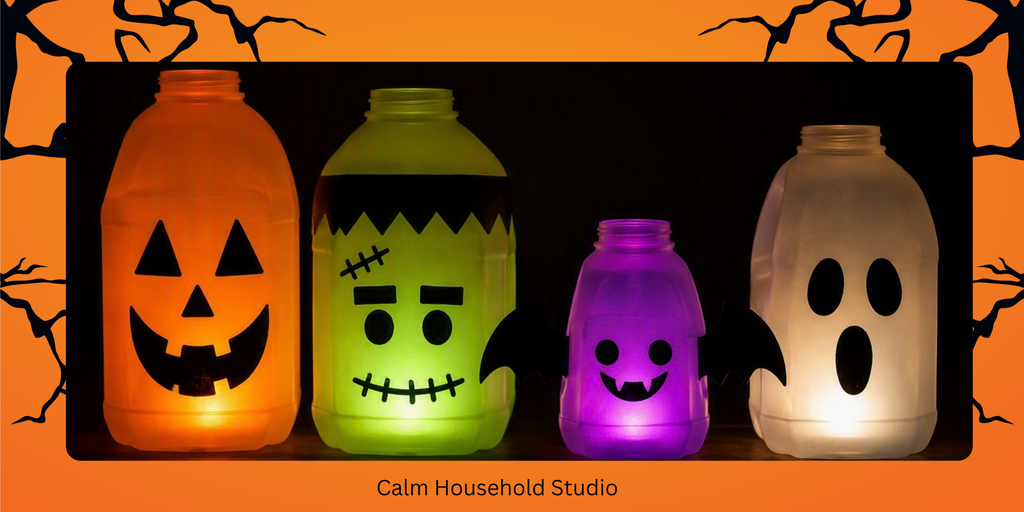
A row of different Halloween characters would make a really fun decoration. You can either use different colour glowsticks to achieve a coloured effect, or simply paint the milk bottles with a thin layer of paint.
🕯️ 2. Halloween Glass Jar Lanterns
Glass jars make wonderful little lanterns and are another great way to reuse something you already have at home.
Jam jars, sauce jars and other empty glass jars can all be given a spooky Halloween makeover.
This craft can be as simple or as creative as you like.
You will need
- A clean glass jar
- Tissue paper
- PVA glue or Mod Podge
- Paintbrush
- Halloween decorations or paper shapes
- LED tea light
How to make a Halloween jar lantern
Clean the jar and remove any labels.
Cut or tear pieces of tissue paper and use glue or Mod Podge to attach them to the outside of the jar.
You could cover the entire jar or leave some areas clear so that the light can shine through.
Once the tissue paper is dry, add your Halloween details.
Try making:
A ghost – white tissue paper with black eyes and a mouth.
A pumpkin – orange tissue paper with a green stalk and a spooky face.
A monster – green tissue paper, big eyes and silly teeth.
Pop an LED tea light inside and watch your lantern glow!
[INSERT FINISHED CRAFT PHOTO HERE]
A note about glass
Because these lanterns use glass jars, they are better suited to older children or should be made with close adult supervision. Always use an LED light rather than a real candle.
🥤 3. Paper Cup Halloween Lanterns
If you’re looking for a quick and inexpensive Halloween craft, paper cups make surprisingly good little lanterns.
They’re easy for children to decorate and you can turn them into all sorts of spooky characters. Make a ghost, pumpkin, witch or monster — or create a whole collection of Halloween characters to display together.
This is also a great option if you want a Halloween craft that doesn’t take a lot of preparation.
You will need
- Paper cups
- Coloured paper or card
- Black marker pen
- Scissors
- Glue
- An LED tea light or small LED light
You can use plain white paper cups and decorate them yourself, or start with coloured cups to make the designs even easier.
How to make a paper cup Halloween lantern
Start by choosing what you want your lantern to be.
A ghost is probably the easiest option. Use a white paper cup and add two black eyes and a spooky mouth.
For a pumpkin, use an orange cup and add a jack-o’-lantern face.
You could also make:
🧙 A witch
🦇 A bat
👻 A ghost
🎃 A pumpkin
🕷️ A spider
🧟 A monster
Cut your shapes from coloured paper or card and glue them onto the cup. You can also draw details directly onto the cup using a marker pen.
Let your lantern glow
Once your Halloween character is finished, place an LED tea light or small LED light underneath or inside the cup, depending on the design of your cup and light.
If you want more light to shine through, you can carefully make small holes or cut-out shapes in the cup before decorating it.
For example, you could cut out:
- Tiny stars
- Bats
- Pumpkins
- Circles
- A spider web
When the light is switched on, these little openings will allow the light to shine through and create a lovely glowing effect.
Important: Only use LED lights with paper cups. Never use a real candle or other naked flame.
🎃 Make a whole Halloween collection
One of the best things about paper cup lanterns is how easy they are to make in different designs.
Why make just one?
Try making a pumpkin, ghost, witch and monster and display them together on a shelf, windowsill or Halloween party table.
You could even challenge each child to design their own Halloween character.
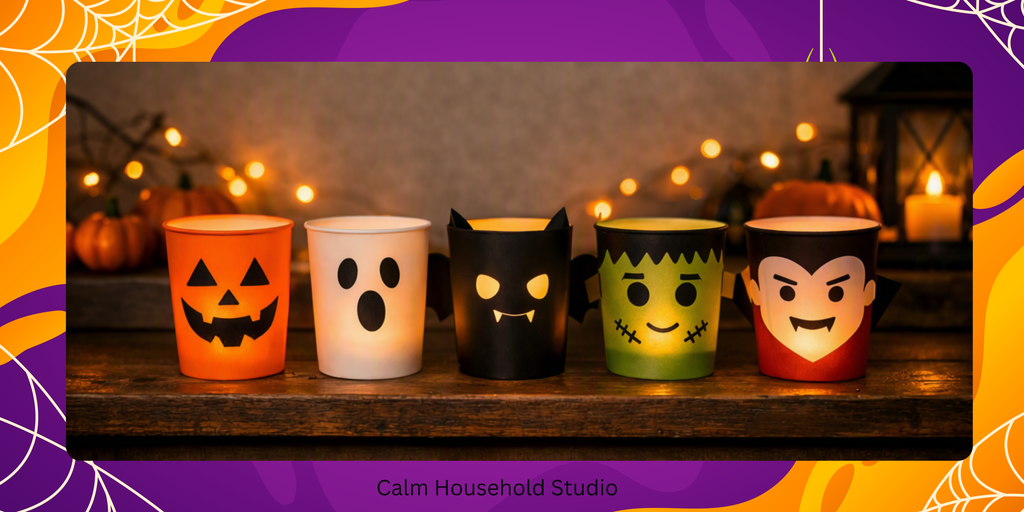
The finished lanterns may be small, but they make a fun Halloween decoration — and children will love seeing their creations glowing when the room gets dark.
🏚️ 4. Cardboard Halloween Lanterns
This simple cardboard lantern is a great project for children who enjoy cutting, sticking and designing their own decorations.
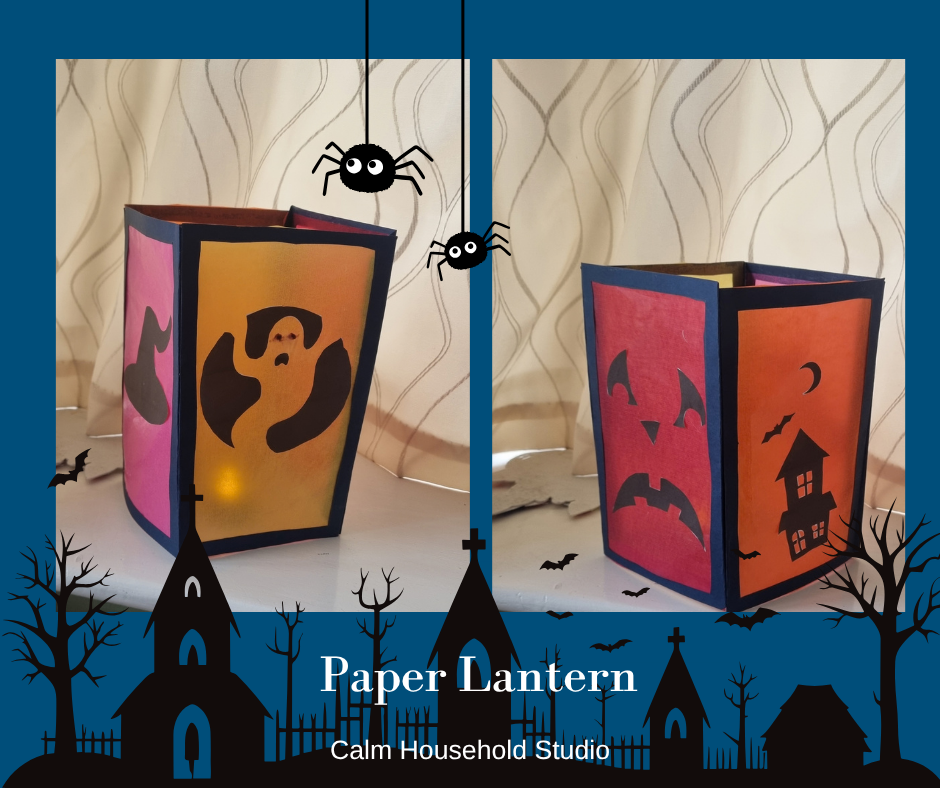
Instead of using a container as the base, you’ll create a square or rectangular lantern from four pieces of black cardboard. Each side can then be decorated with tissue paper and spooky Halloween silhouettes before the lantern is assembled.
The result is a simple glowing lantern that can be completely customised.
You will need
- Black cardboard
- Tissue paper in your choice of colours
- Scissors
- Pencil and ruler
- Glue
- Sellotape, if needed
- Black paper or card for Halloween shapes
- An LED tea light
Step 1: Make the four sides
Start by cutting four equally sized rectangles from black cardboard.
The size is completely up to you, but keeping all four pieces the same size will make the lantern easier to assemble. Keep in mind that you will need to glue the four sides together later, so you will need a small additional strip on each of the vertical sections that you can fold and use as your glue strip.
On each rectangle, mark out a smaller rectangle in the centre. This will become the “window” of your lantern.
Carefully cut out the centre section, leaving a border around the outside of each piece.
You should now have four identical black cardboard frames.
Step 2: Add the tissue paper
It’s much easier to add the tissue paper before you assemble the lantern.
Turn each cardboard frame over and attach a piece of tissue paper to the back of the opening.
You can either:
- Cut four pieces of tissue paper slightly larger than the openings and glue them into place, or
- Use smaller pieces of tissue paper and layer them across the opening for a colourful, textured effect. To do this, cover the opening with sellotape first so that you can attach the tissue paper pieces to the sellotape.
If you’re using several colours, you could create a different design on each side.
For example, you could have an orange pumpkin side, a purple witch side, a green monster side and a white ghost side.
Leave the tissue paper to dry completely before moving on to the next step.
Step 3: Add your Halloween shapes
Now it’s time to decorate!
Cut Halloween shapes from black paper or card and stick them onto the tissue paper.
You could add:
🎃 Pumpkins
🧙 Witches
🦇 Bats
👻 Ghosts
🕷️ Spiders
🌙 Moons
🌲 Spooky trees
💀 Skeletons
You don’t need to cover the whole window. A few simple silhouettes can look fantastic when the lantern is glowing.
You could even let each side tell a different little Halloween story.
Step 4: Assemble your lantern
Once all four sides are decorated and completely dry, it’s time to turn them into a lantern.
Fold the edges of each cardboard rectangle along the borders you left around the central opening.
Glue the folded edges together, joining the four sides one at a time to create a 3D square or rectangular lantern.
You can use a little sellotape on the inside while the glue dries to help hold the pieces securely in place.
Once assembled, place an LED tea light inside.
Turn off the lights and watch the tissue paper glow while the black Halloween silhouettes create spooky shadows on each side.
🎃 Get creative with your design
The beauty of this lantern is that every child can make it completely different.
Try using different coloured tissue paper on each side, or use two or three colours together.
Older children could even design their own Halloween silhouettes before cutting them out.
And if you’re making several lanterns, why not create a whole collection? You could make a pumpkin lantern, witch lantern, ghost lantern and bat lantern and display them together.
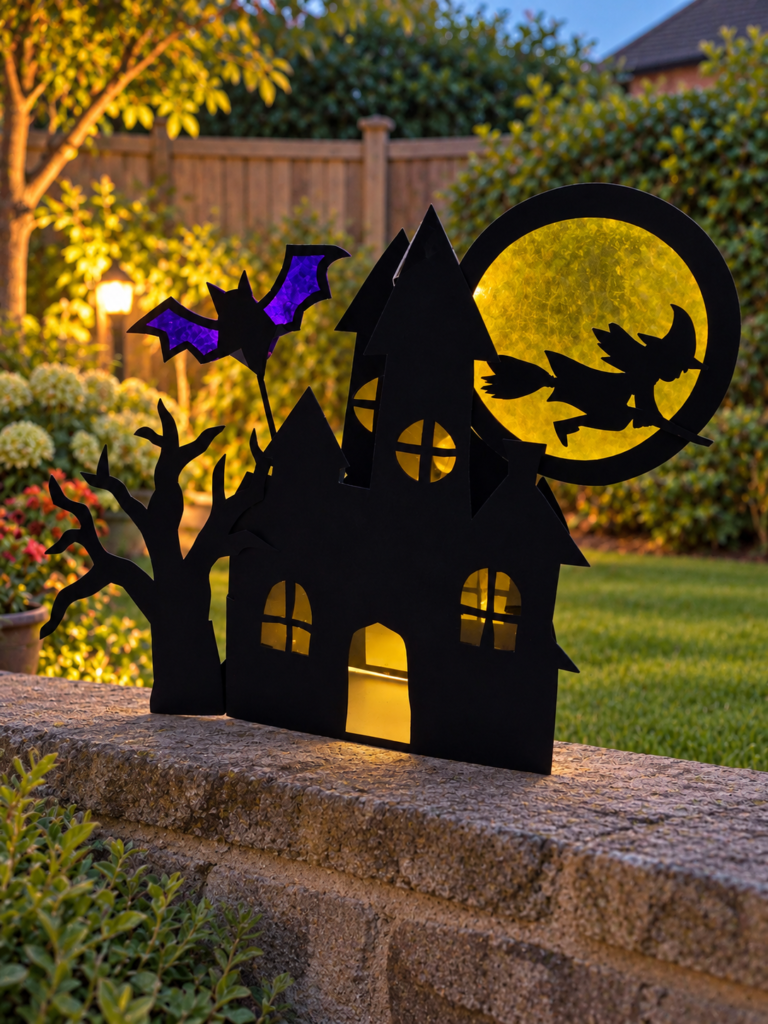
If your children enjoy making Halloween decorations, you could also try our Spooky Halloween House Craft for another fun Halloween project.
🎃 Which Halloween Lantern Should You Make?
The great thing about these crafts is that you don’t need specialist craft supplies.
If you’re looking for something quick and easy, try the milk bottle ghost.
If you have some empty jars waiting to be recycled, make a glass jar lantern.
For younger children who enjoy painting and sticking, the tissue paper lantern is a great choice.
And if your children enjoy building and designing, the cardboard lanterns could keep them busy for much longer.
You could even make more than one!
👻 Make Halloween at Home Extra Special
Once you’ve made your lanterns, don’t put them away just yet.
Turn off the main lights, switch on your Halloween lanterns and have a spooky evening at home.
You could:
🎃 Have a Halloween treasure hunt
👻 Play Halloween party games (coming soon)
🕷️ Tell spooky stories
🧙 Make Halloween snacks
🎬 Have a Halloween movie night
If you’re looking for another activity to add to your Halloween plans, take the fun outside with our Halloween Scavenger Hunt for Kids.
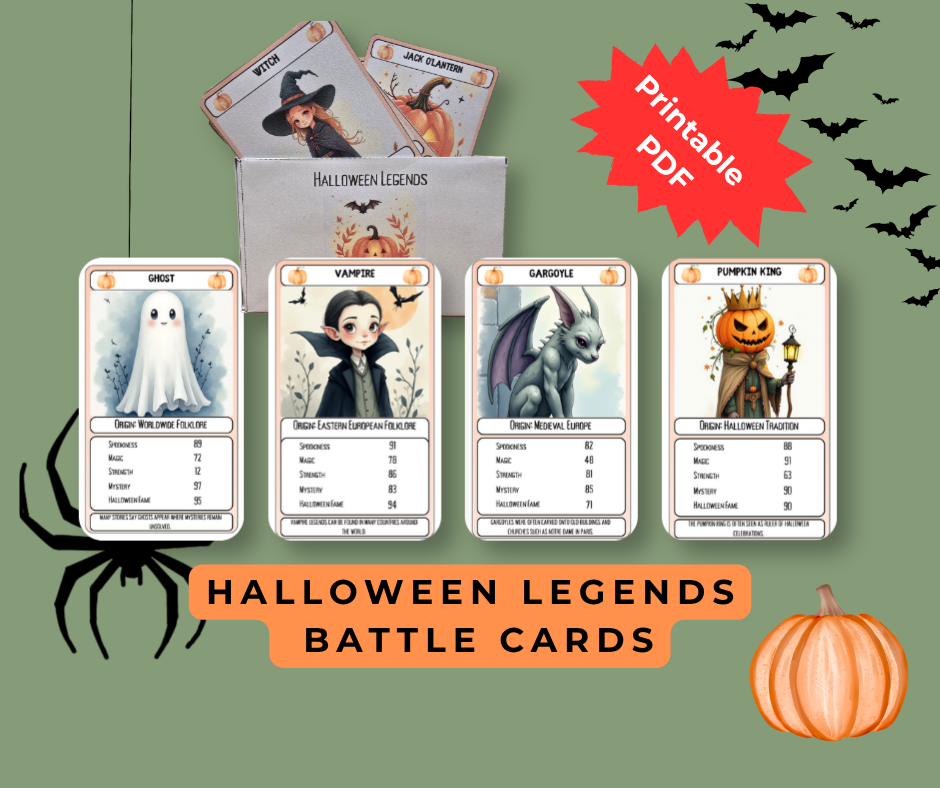
For older children who enjoy games, you can also find our Halloween Legends printable card game in the Calm Household Studio Etsy shop.
🕯️ A Safer Alternative to Traditional Pumpkin Lanterns
Traditional carved pumpkins are a Halloween favourite, but they’re not the only way to make a glowing Halloween decoration.
These lanterns are particularly useful if:
- You don’t want to buy several pumpkins
- Your children are too young to safely carve pumpkins
- You want a craft that can be kept and reused
- You’re looking for a budget-friendly Halloween activity
- You simply fancy trying something different this year
And unlike a carved pumpkin, some of these lanterns can be kept as part of your Halloween decorations for years to come.
Just remember to use LED lights rather than real candles, particularly with children’s crafts and anything made from plastic, paper or cardboard.
🎃 Ready to Make Your Halloween Lantern Crafts for kids?
Choose your favourite idea, gather some recycled materials and let the children create their own spooky decorations.
Whether you make a whole family of milk bottle ghosts or build an entire haunted village, there’s no right or wrong way to make a Halloween lantern.
The best part is watching the children switch off the lights and see their creations glowing for the first time. 👻🕯️🎃
Which lantern will you be making?