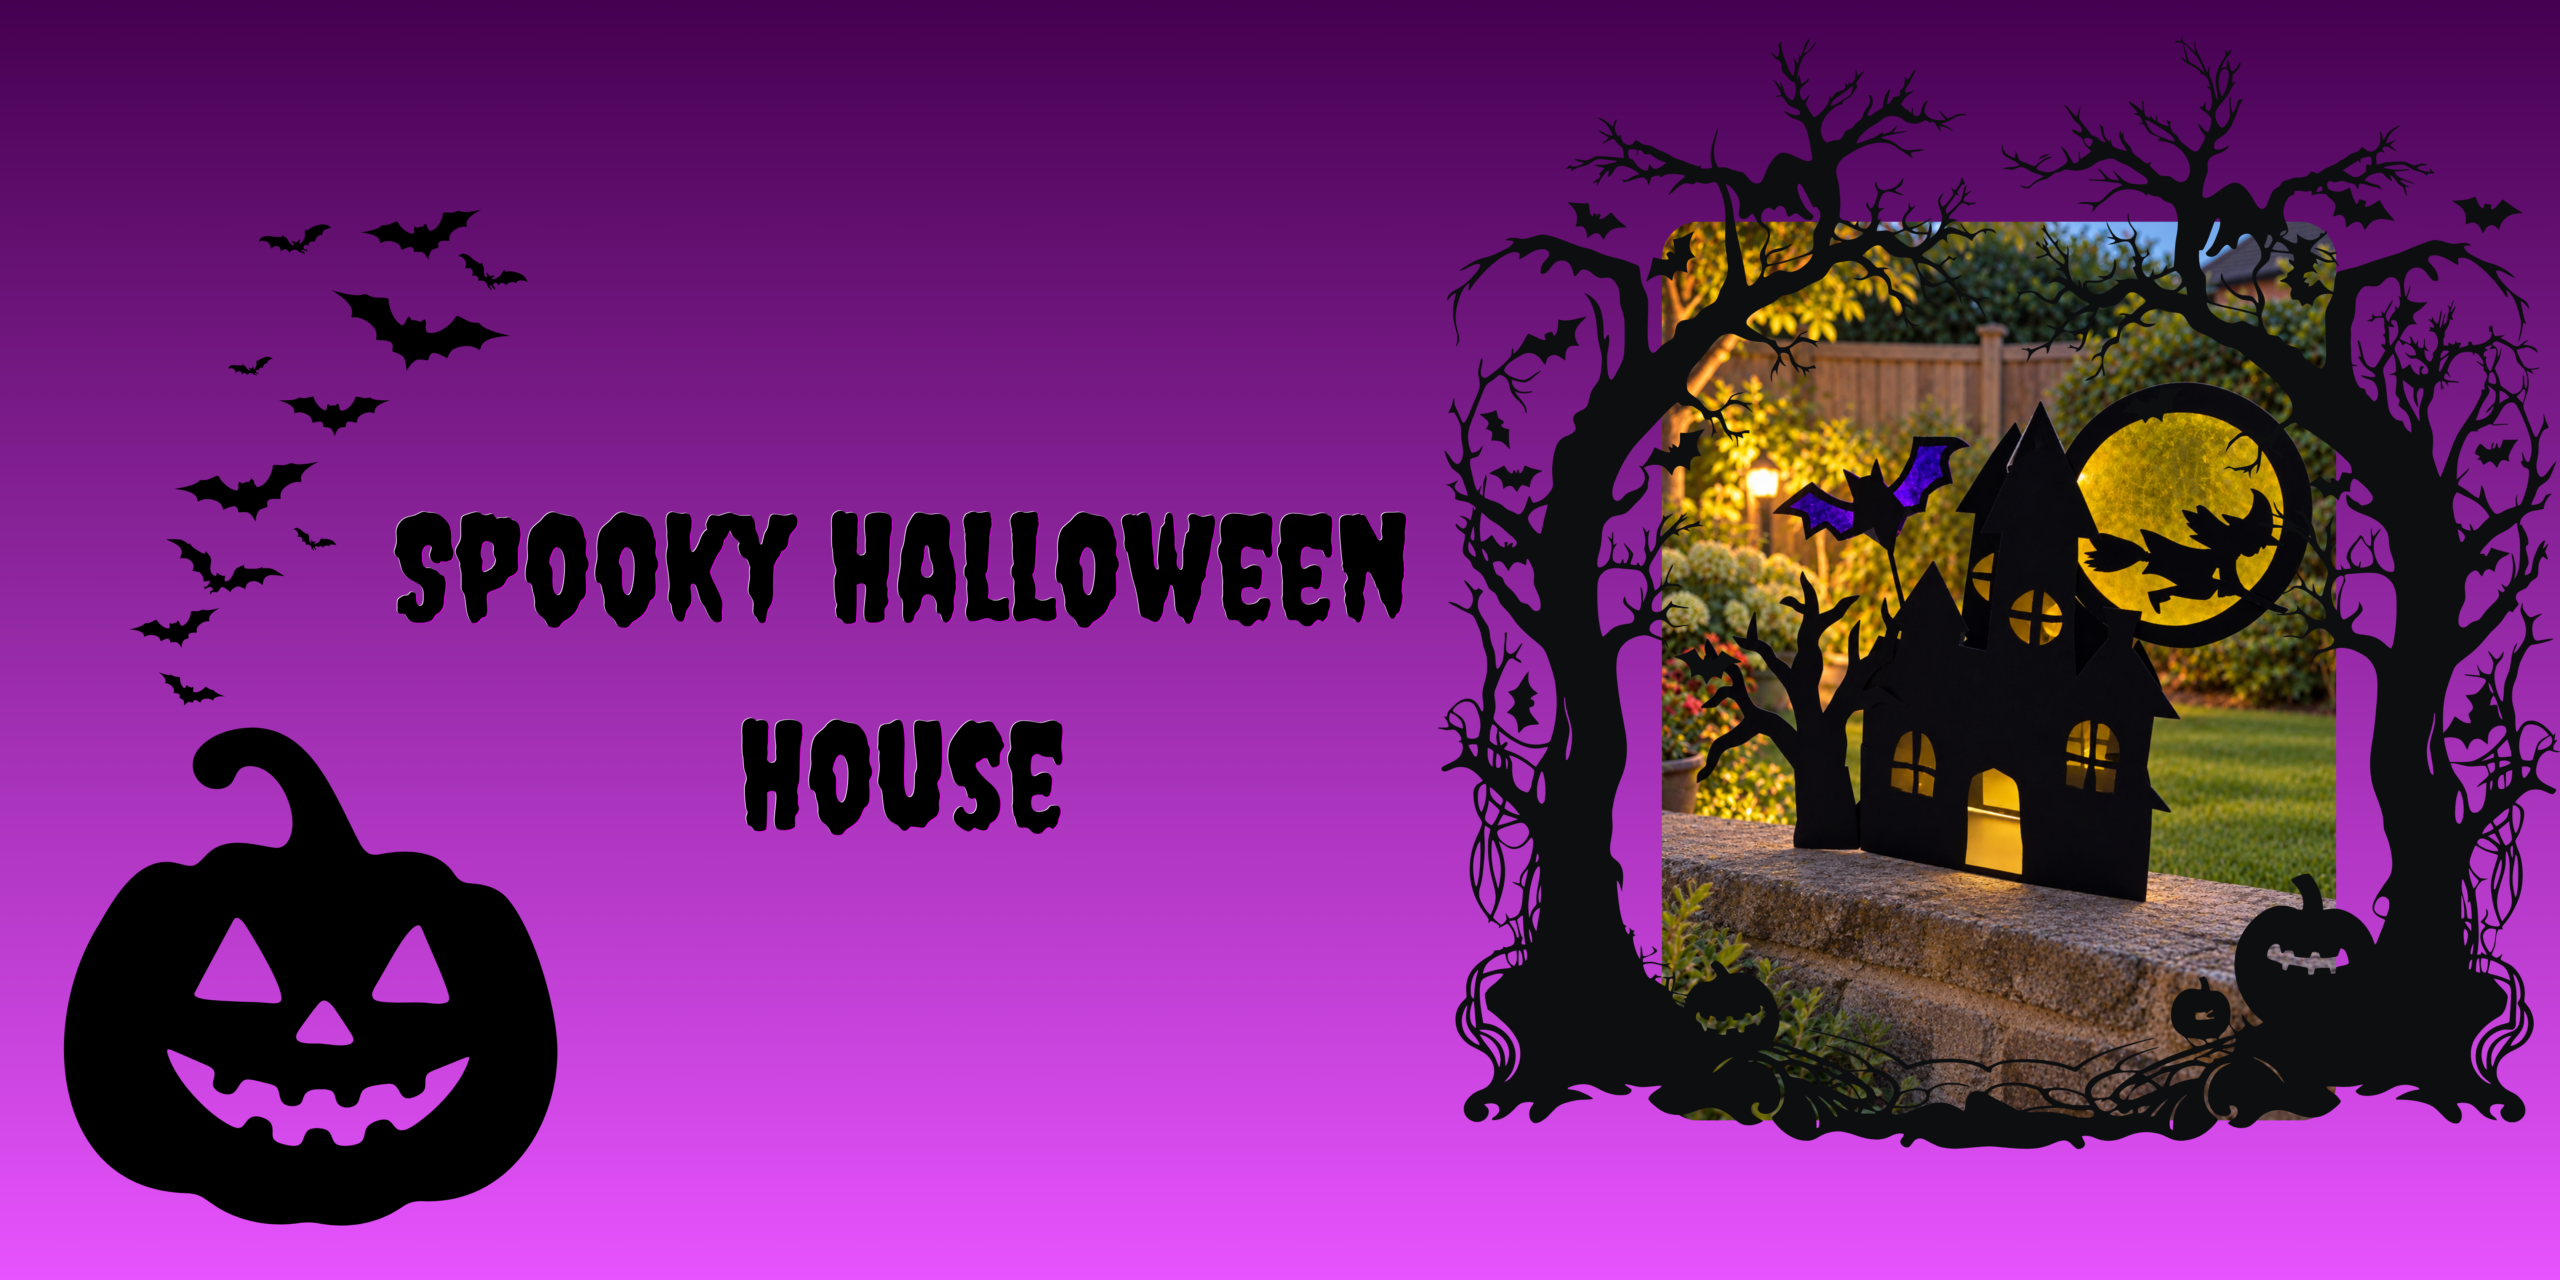
Spooky Halloween House Craft + Free Printable Template
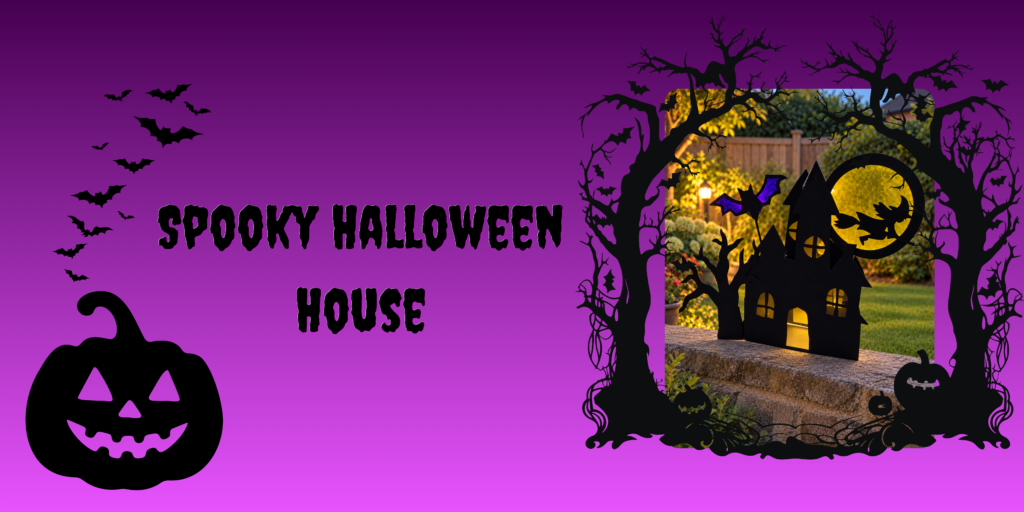
Looking for a simple Halloween craft that kids can make with things you probably already have at home? This spooky Halloween house craft is a fun little project that doubles as a Halloween decoration.
Using our free spooky house template, children can create a creepy little haunted house with glowing windows and a door. And once you’ve finished the house, don’t throw the template away! We’ve also used the same shapes to create a fun Halloween silhouette picture.
It’s an easy Halloween activity for a rainy afternoon, and younger children can enjoy decorating and assembling while older children can take charge of the cutting and design.
What You’ll Need
For the spooky house
- The free spooky house template
- Black construction paper or cardstock
- Coloured tissue paper
- White paper or card
- Scissors
- Glue
- Pencil
- A small LED battery-operated tea light
You can also add extra decorations such as bats, stars, pumpkins or spiders if you like.
For the spooky Halloween picture
You’ll need:
- The spooky house template
- A sheet of white paper or card
- Crayons, colouring pencils or markers
- Black paper
- Scissors
- Glue
This version is particularly nice for younger children because they can get creative with the background before adding the black Halloween silhouettes.
How to Make the Spooky Halloween House
1. Download and print the template
Start by downloading and printing the free spooky house template.
The template contains the basic shapes you’ll need to create the haunted house. You can print it directly onto paper and use the pieces as templates, or print it onto card if you’d like something a little sturdier.
Tip: If you’re making this with several children, print a few copies of the template before you start.
2. Cut out the shapes
Use the template to cut the house shapes from black paper or cardstock.
Depending on the age of your child, you can either do the cutting for them or let them practise their scissor skills.
The black paper creates the spooky silhouette of the house, while the yellow paper behind the windows gives it that lovely glowing effect.
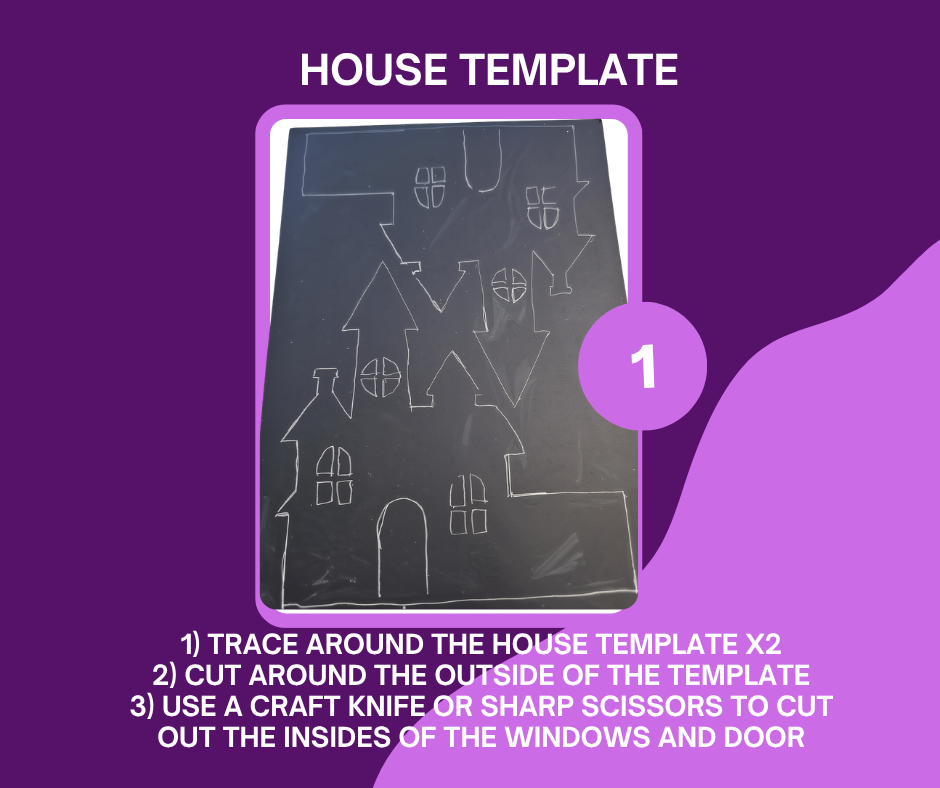
3. Add the glowing windows
Cut small pieces of yellow or orange tissue paper and stick them behind the windows.
You don’t need to make them perfectly neat. In fact, a little bit of unevenness adds to the handmade look!
You can also use yellow paper if you don’t have tissue paper although that works less well with the tealight.
4. Assemble your haunted house
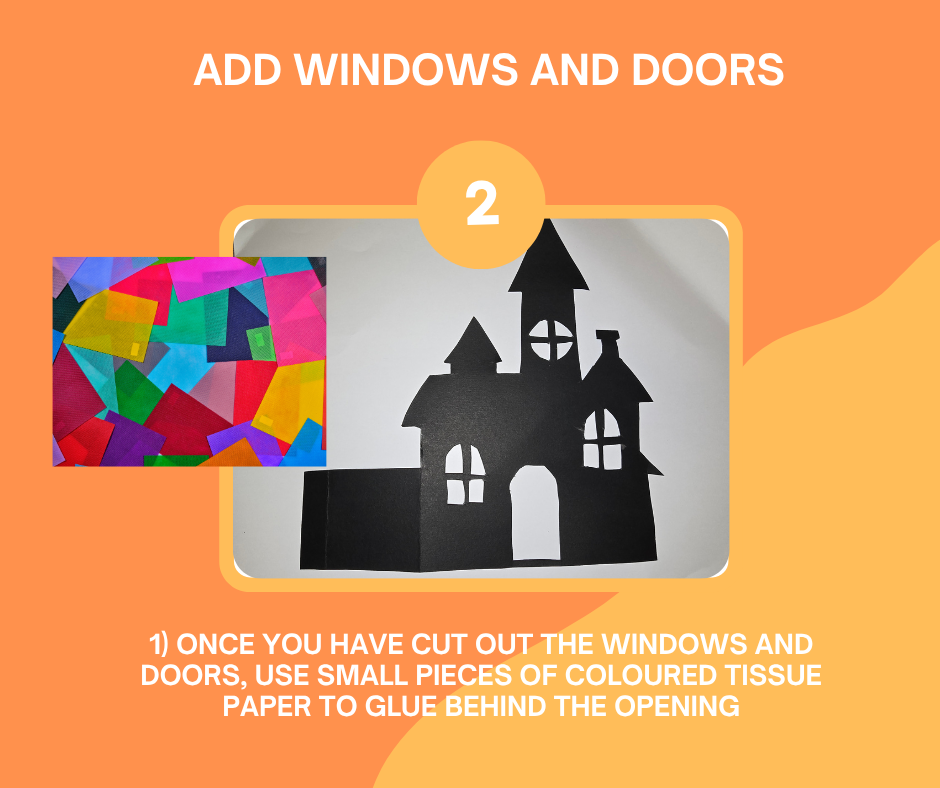
Trace around the templates on black cardstock. You will need 2 copies of the haunted house outline if you want to make it into a tealight. I managed to fit 2 outlines onto 1 A4 sized piece of cardstock. Cut out the house shapes, using a craft knife to cut out the windows and door.
Next, use coloured tissue paper to glue behind the windows and door openings.
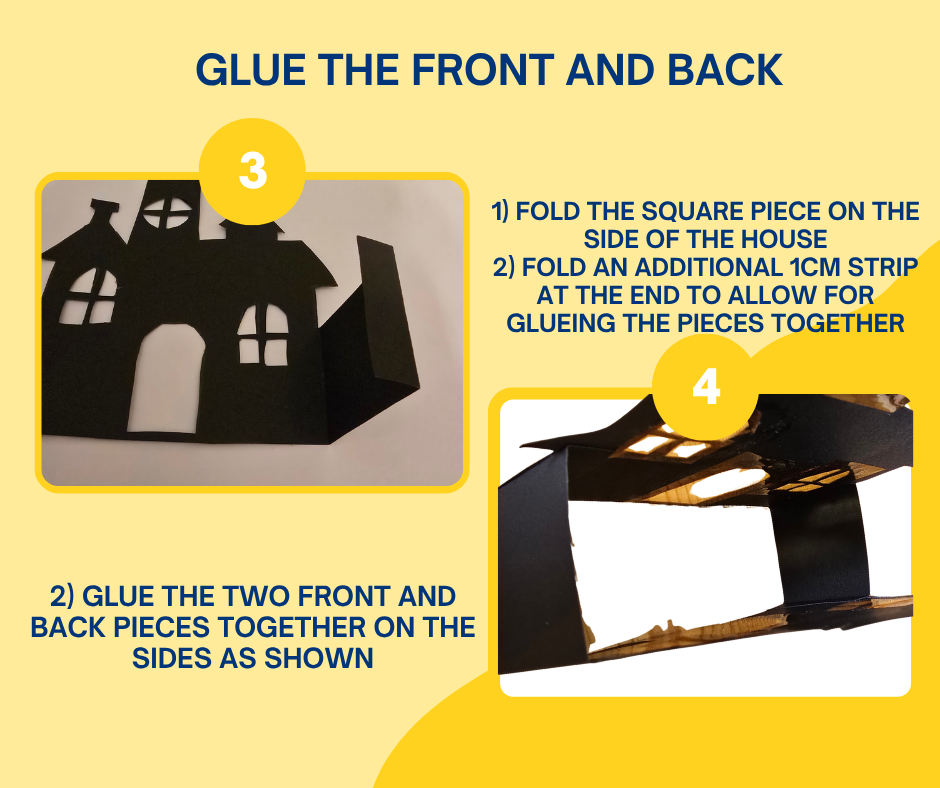
Once the windows and doors are done, you are ready to glue the front and back parts of the house together. You will need to fold the square piece to the side of the house along the house edge, and also add a 1cm fold to the end of the square to use for glueing the pieces together.
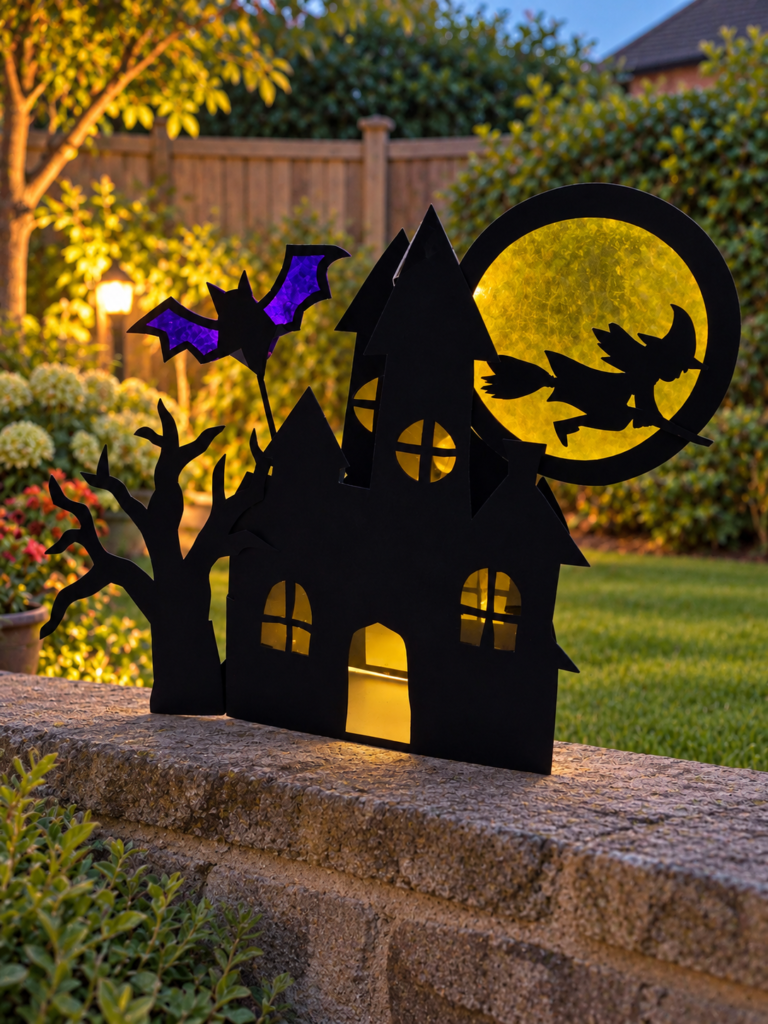
I have included some additional templates to add to your house if you wish. A few tips from our own experience:
- If adding the moon to your house, I found it a good idea to stabilize the house tower a little, unless you are using super thick cardboard. I sellotaped a toothpick to the inside of the house to keep it upright after glueing the moon on.
- If you want the spooky tree to the side of the house, add a small cardboard square/strip to the side of the tree when cutting it out to give you something to glue it on to the house with.
- I used a toothpick to have a flying bat over my house. I first coloured the toothpick black with a sharpie and then used sellotape to glue it to the bat on one side and the house on the other.
5. Add your light
Once your house is assembled, place a battery-operated LED tea light behind it.
The light shining through the yellow windows makes the house glow and gives it a wonderfully spooky effect.
Important: Because this craft is made from paper and card, do not use a real flame tea light or candle. Always use a battery-operated LED tea light instead.
Make a Spooky Halloween Picture Too!
The fun doesn’t have to stop once you’ve made your haunted house. While I was cutting out the templates for the tealight house, my daughter immediately started thinking about using them for a picture too.
So, we used the same template to make a spooky Halloween picture — and this is a great way to use the template with younger children who might find the 3D house a little tricky.
Start by creating a colourful Halloween background. My daughter used Oil Pastels for her background, but any pens will do.
You could:
- Draw a sunset behind the house
- Make a purple or orange night sky
- Add a full moon
- Draw stars
- Create a spooky forest
- Add clouds
- Colour the whole background with crayons or pencils
Then cut the house and other shapes from black paper and glue them onto your background.
My daughter went for a colourful, slightly chaotic Halloween sky and then added a black haunted house, tree and bat silhouettes. A ghost and moon finish off the scene.
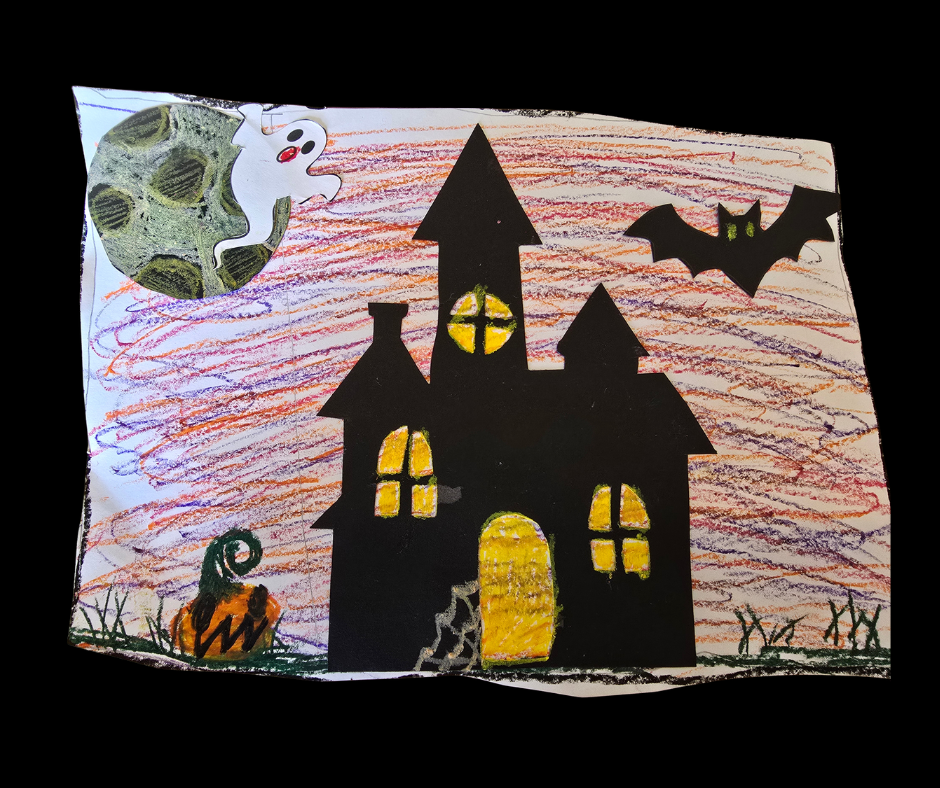
I actually love this version because there’s no right or wrong way to make it. Every child’s picture can look completely different.
Make It a Halloween Afternoon Activity
If you’re looking for something to keep the kids busy during the October half term, you could turn this into a whole Halloween craft session.
Start with the spooky house and then use the leftover template pieces to make a Halloween picture.
You could even add some of our other Halloween activities to create a mini Halloween afternoon at home:
🎃 Make the spooky house
🦇 Create a Halloween silhouette picture
👻 Make a paper ghost
🕷️ Draw some creepy-crawly creatures
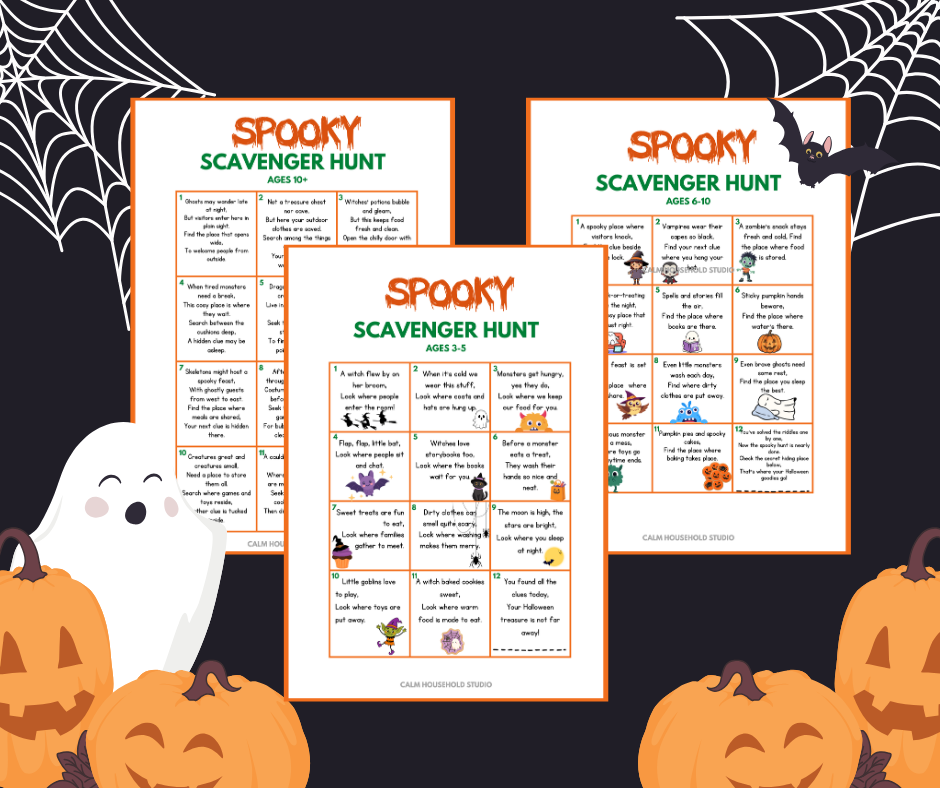
🍬 Finish with a Halloween treasure hunt
That way, one simple printable can become the starting point for several different activities.
A Halloween Craft for Different Ages
One of the things I like about this activity is that it can easily be adapted depending on your child’s age.
Younger children (3–5):
Let them colour the background, decorate the house and help glue the pieces together. An adult can do most of the cutting.
Children aged 6–8:
They can cut out the simpler shapes themselves and experiment with creating their own Halloween scene.
Older children:
Encourage them to change the design, add extra buildings or create an entire haunted village. They could even design their own spooky house from scratch after using the template as a starting point.
Download the Free Spooky House Template
Ready to make your own haunted house?
Download the free spooky house template here.
Print it, grab some black paper and let the Halloween creativity begin!
And don’t forget to try the spooky picture version too. It’s a great way to get two different Halloween activities from the same template.
More Halloween Fun Coming Soon
This is just the beginning of our Halloween series! 🎃
I’ll be sharing more easy Halloween crafts, activities, games and printables for kids over the coming weeks, with plenty of ideas that don’t require expensive supplies or hours of preparation.
So if you’re planning some Halloween fun at home this year, save this post and come back for the rest of the series.